Archive for the ‘Art’ Category

Getting Lost and Fluttering Butterflies


These last couple of weeks I’ve been working on improvements to the little maze SRP project. Adding new art and effects, while continuing to learn about Unity’s Scriptable Rendering Pipeline (SRP).

The project also finally has a title. The Maze Where The Minotaur Lives.

Navigating Improvements

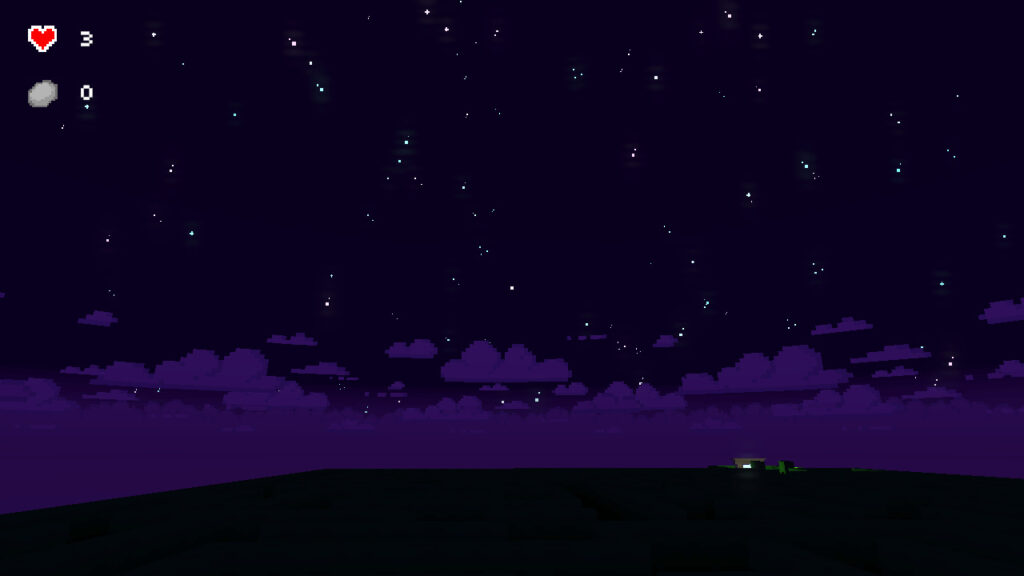
Many of my play-throughs of the maze would often leave me completely lost, with little indication that I’d be walking in circles. So I spent some time this week working on ideas to try and fix the problem.


I know getting lost in a maze is the point, but exploration is about being in control while also being lost. When you’re no longer in control, you’re no longer exploring, meaning it’s no longer “fun”, which means it’s no longer a game.


My initial ideas were a little overkill (as usual), such as adding a map and compass system. But I decided to keep it simple and update the art instead, hoping that a few art changes, and more visual variation, would help.

A variety of bushes with flowers found near the boundary of the maze.

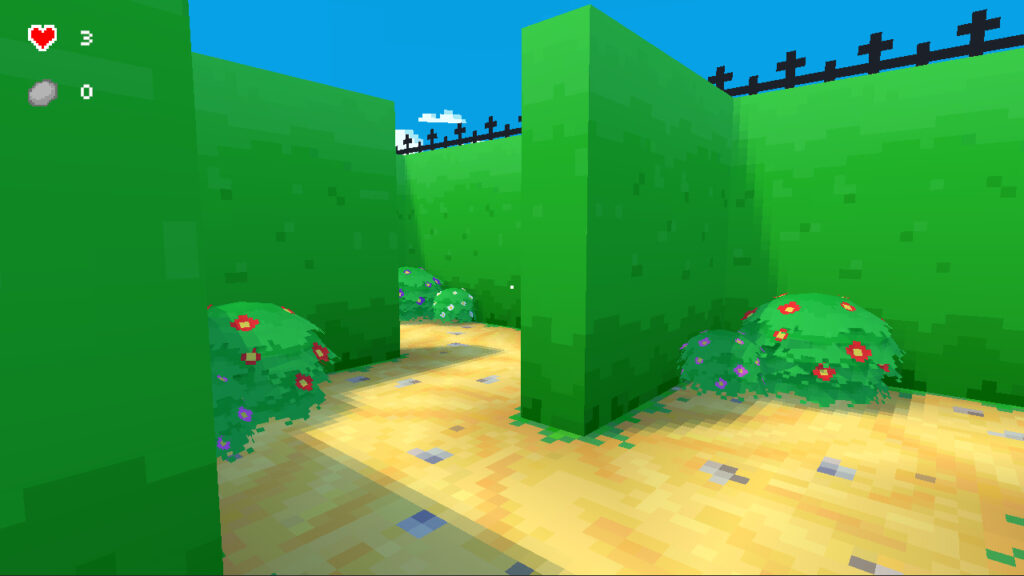
The maze now has clear boundaries with a fence line. I also updated the bushes to have different colored flowers, creating variation along the path that previously wasn’t there.

After a bit of playtesting, the additional variation has helped create loose landmarks that can help figure out if you’re going in circles sooner. But more is still needed.

The boundaries also help make the size of the maze obvious, encouraging you to move into the maze once you’ve realized you’ve reached a boundary.

The whole exercise has reinforced my understanding of how important small artistic changes are in communicating subtle gameplay cues.

Fluttering Butterflies

With all the flowers, I decided to add butterflies to add a little more visual polish to the maze.

I also wanted to experiment with particle systems more, to see if I could spawn the butterflies as particles and animate their fluttering wings using a shader. It was something I hadn’t done before, so it was a good opportunity to test my shader programming skills and learn something new.

It took a bit of experimentation and feedback, but it turned out better than I thought it would.

Here’s how it’s works.

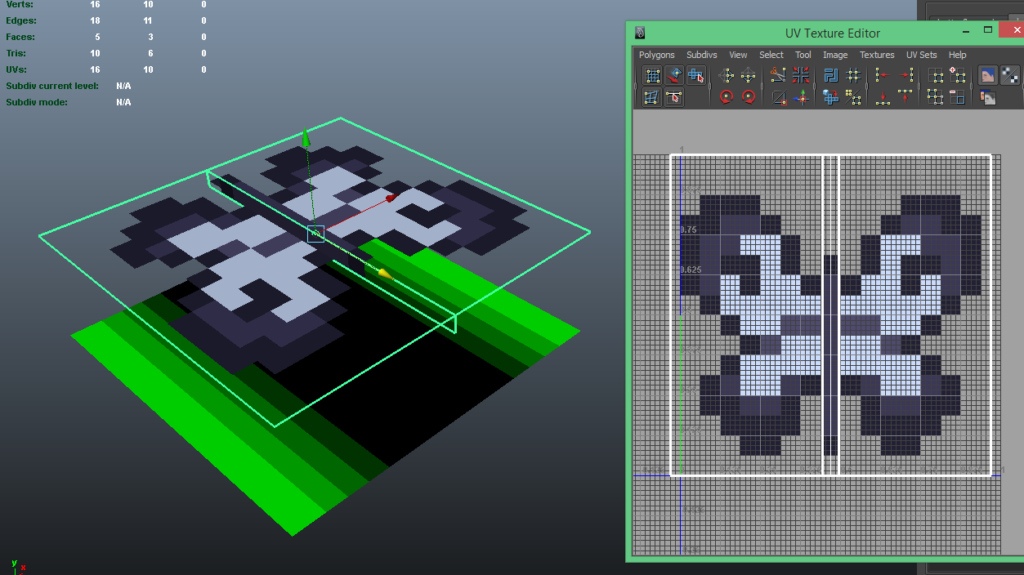
The fluttering is done using a custom shader that is driven by a particle system’s noise impulse value, passed it in using a Custom Vertex Stream. I used a motion texture mask to make sure that only the wings would animate, using the textures RGB colors channels as XYZ motion instead. How far and fast the wings can flutter is specified on the shader as adjustable values. Combining all these together creates the fluttering motion for each butterfly particle.

The noise impulse also influences the movement and fluttering speed of the butterfly. So if the impulse is high, the butterfly will flutter faster in sync with it’s movement.

The mesh with the butterfly pixel art (painted in Asprite). The black and green texture below the mesh is the motion mask used in animating the wings with the custom shader.

Updated Maze Textures

I updated the mazes hedge and ground pixel art, using some new techniques I’ve learned to make it look better. I also used this as a chance to optimize the textures, packing them all into a single texture sheet to improve rendering.

The individual ground texture, with not so good pixel art.
All the textures packed into one. With better pixel art.

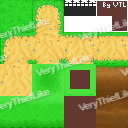
Originally the maze was made up of 10 different materials and textures, creating a lot of extra work for the rendering pipeline to perform. Now it’s done using a single texture and material, creating less work for the rendering pipeline and improving the overall frame rate.

Camera Crossfade

I wanted to make it so that when the player finished the maze the camera would transition to different locations, showing places they may have missed, or even seeing the maze from nice camera angles.

So I added a camera cross-fade effect, to fade between different cameras in the maze.

I had to make a few changes to the camera system to make it easier to work with and maintain all the existing effects, such as the camera shake and post-processing effects.

The exercise taught me a lot more about working with cameras in SRP, and how to manage cameras and camera transitions.


And that’s been some of the things I’ve been working these last two weeks.

Next, I’m hoping to work on a few new 3d models and adding landmarks to the maze.

Portal and Treasure Chest Effects


This week I worked on adding effects to the exit portal and the treasure chests.

The first thing I worked on was the gateway portal effect.

The exit portal. It looks a lot faster here then it actually is.

The effect uses a combination of scrolling textures and a particle effect. I also added normal map distortion to the shader to manipulate the UV position to create a noise-y scattered effect.

I wanted to make it obvious it was an exit, fading the middle of the portal to make it look like it was passable despite its glow. I also made the particles move towards the portal to help create a sense of motion towards it.

Next I worked on the treasure chests.

Looks like it hasn’t been opened for some time.

I wanted to improve the feeling of opening the chest, adding a little anticipation to the animation and causing dust particles to burst out the first time you open them.


I had to update my SRP implementation to address some issues with rendering order. I was running into issues with the sky rendering over transparent objects in the scene.

The sky clipping out the portal effect.

Conceptually the solution was simple, render the background in its own pass, and render everything else on top. But it took a little while to understand what was going on and how to render everything in the correct order in SRP.

The above is a code snippet of the rendering order. “DrawVisibleOpaque” renders all objects that have no transparency. This also optimizes the background rendering, filling in areas the background won’t have to draw in.

“DrawBackground” renders all the objects that compose the background. It also renders its own transparent objects to keep the background elements together.

And then lastly, there’s “DrawVisibleTransparent”, which renders all other transparent objects on top of the opaque and background result, to create the final image.

The final image with the portal effect rendering correctly against the sky.

In the next article, I’ll be writing about culling optimization.

Water and Sky Effects


This past week I’ve been working on adding effects to the maze while continuing to learn and understand how to work with Unity’s Scriptable Rendering Pipeline (SRP).

The first effect I added was running water to the fountain at the start of the maze.

I used a common shader effect, known as scrolling textures, or scrolling UVs, to simulate flowing water. The effect is simple, offsetting the UV coordinates of the texture by a given speed and time to give the texture the appearance of water flowing.

Multiple scrolling textures and particles effects make a fairly convincing water fountain.

The water is also partially reflective, which is done using a cube map generated by a reflection probe. The reflection probe dynamically updates every frame, capturing the lighting in the environment, which is then used as the reflection in the shader.

Since the environment’s lighting is dynamic, the updated reflection helps control the water’s brightness and ensures that it looks like it’s part of the same scene.

The left side has a reflection that hasn’t updated. The right side has a reflection which is updating every frame.

Next, I worked on the sky.


The sky in previous images used Unity’s standard procedural skybox which is supported in SRP. I opted to not use it, encouraging me to learn how to set up the rendering pipeline and achieve a similar effect.


The maze with a cloudy horizon.

The clouds are a large horizontal tiling texture, mapped onto multiple mesh cylinders to create a layered effect. Each layer then uses a scrolling texture with different speeds to fake the sense of distance between them.

I then started working on adding stars to the sky at night. I wanted to control how they appeared, showing each star one at a time as the sun set.

Initially, I tried using a pixel art texture, but it was too large and distorted, which didn’t look very good. It also didn’t give me much control over the effect, at least not without over-complicating it.

I ended up using a particle system that emitted from a mesh shape that I created in Maya. At each vertex point on that mesh, a particle will spawn, giving me control over the position of each star in the sky.

The pixel-y stars at night, using a texture sheet to create a variety of stars in a particle system.

This is then controlled by the day-night cycle, telling the particle system to start emitting the stars just as the sun goes down, and then updating their remaining lifetime to fade them out when the sun is about to come up.

The sun sets in the maze and then the stars come out.

Next, I’ll be continuing to work on a few more visual effects.