I started a small side project recently, revisiting an old project and its systems for generating procedural mazes. It was one of my first projects in Unity from many years ago, and my first foray into procedurally generated content for games.
That was some time ago. This was when Unity didn’t have many of the Quality of Life features that it has now. Like the Package Manager, Nested Prefabs, Assembly Definitions, or even C# namespaces. So a lot of “good ideas” I had around that time didn’t age well and I had to spend a few days re-doing.
With this little project, I’ve decided to dive into Unity’s Scriptable Rendering Pipeline and apply what I’m learning to an actual game production.
I’m also secretly trying to gain a little insight into how it works to solve a few problems on The Very Organized Thief, without disrupting its development too much.
After a bit of digging through some ancient code, I’ve managed to get the procedural maze generation running again.
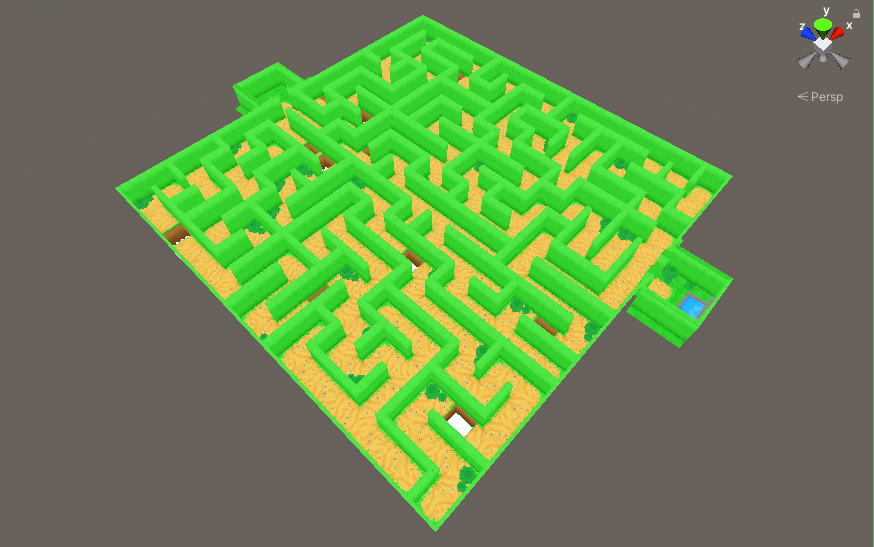
So how does it work.
First, I generate a map by using a Depth First algorithm. Mapping out the corridors and walls and storing it as high-level data.
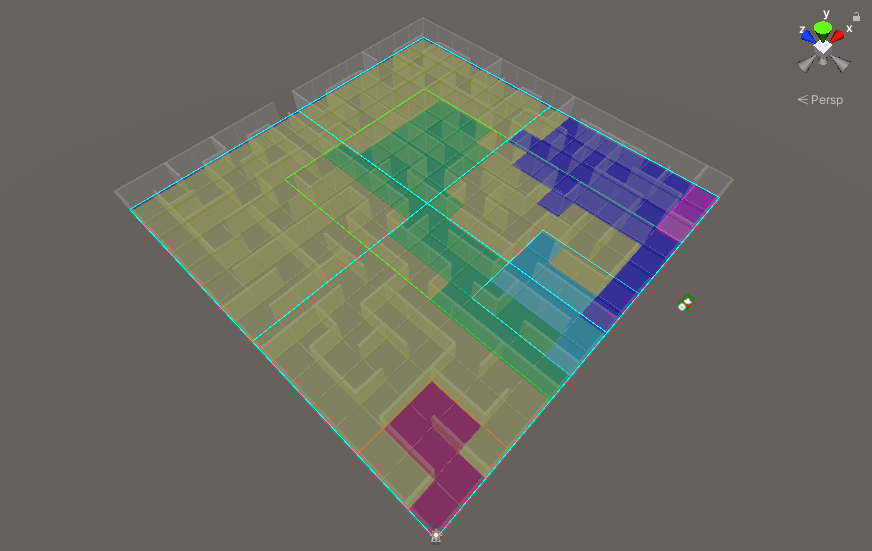
I then do a second pass using that data to determine more specific features, such as how it should look, where the start and end should be, and what brush it should use to generate the final look.
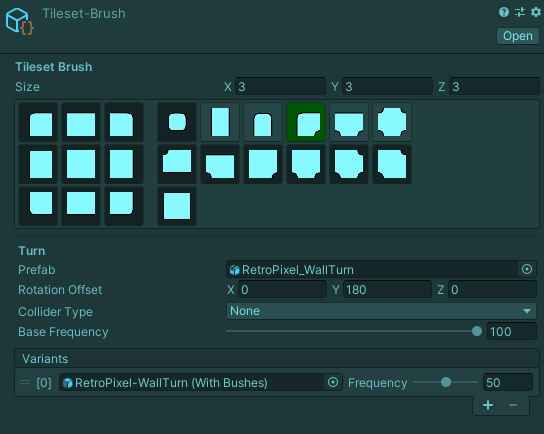
Then I generate the visuals, determining what brush to use and its orientation so I can place the correct 3d model. I can also add variation at this point based on the desired frequency, which is how I’m adding the pits and the turns with bushes.
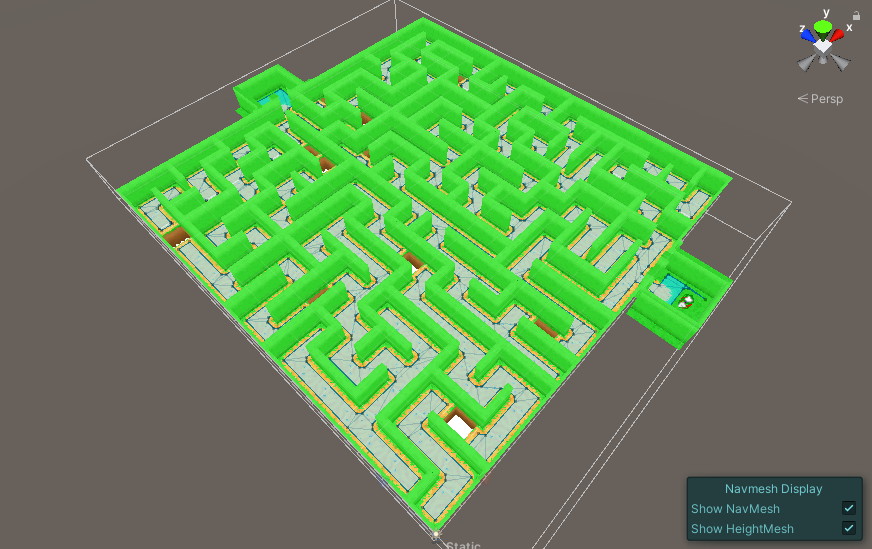
Once it’s done all that, I then generate pathfinding data which I can then use for AI.
One of the greatest additions to Unity in recent years that makes authoring procedural brushes easier, has been Nested Prefabs.
In older versions of Unity, if you constructed a new prefab out of other prefabs, the other prefabs would become “baked” into the new prefab. So if you needed a specific object, like a bush or something, that was shared across multiple prefabs. You had to go into each prefab that used it and manually modify that bush. It was tedious and not very fun.
But with Nested Prefabs, you can create a prefab of a bush, and nest it inside another prefab. So if I make changes or add features to the bush, all other prefabs that have a nested version, are updated too. Very useful, and without the tedium.
So far it’s good enough and should give me enough to play with while coming up with a better shader to start learning more about Unity’s Scriptable Rendering Pipeline.
It’s very easy to learn something, but without some kind of project or game to use it on, it can be difficult to apply what you learn to larger systems, especially when you don’t know how it should work entirely.
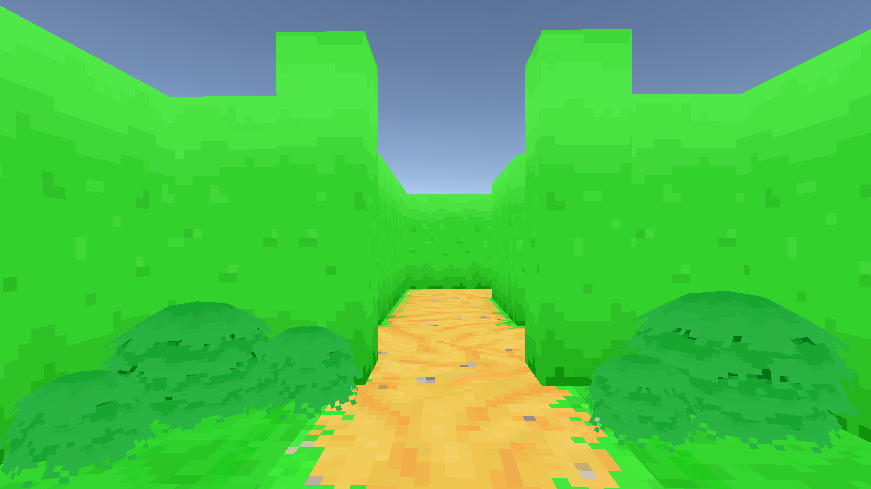
Everything is very flat, but that should change once I start adding lighting support again and working out how to control the rendering pipeline in Unity.