Posts Tagged ‘Procedural Generation’

Texture Generation


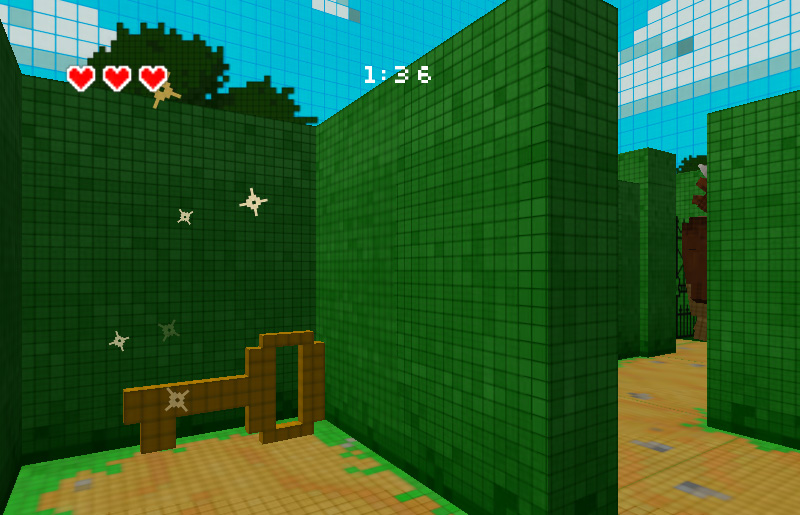
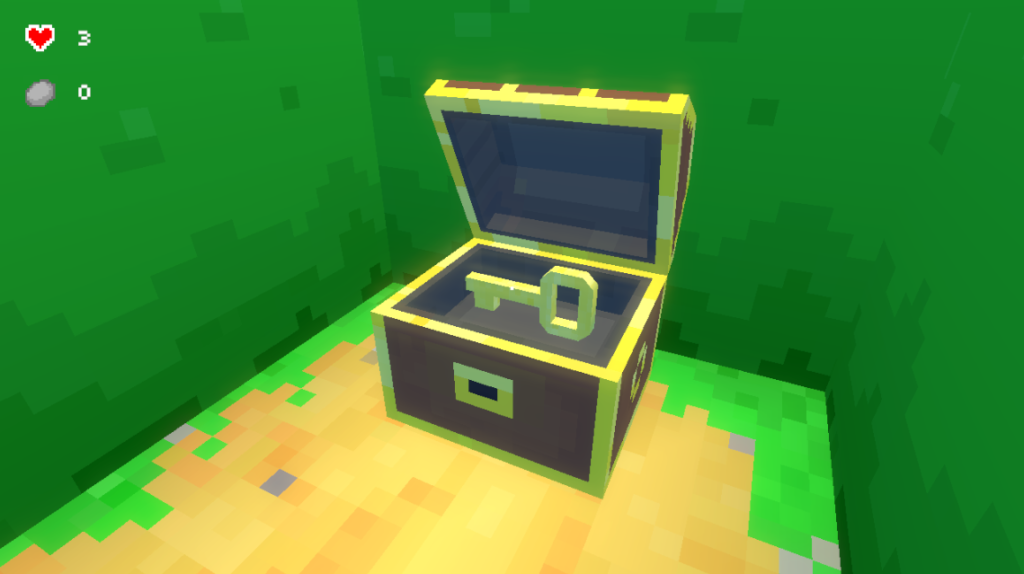
This past week I’ve been experimenting with Texture Generation to learn more about procedural generation and apply what I learn to The Maze Where The Minotaur Lives.

To start out, I created a simple editor window in Unity to let me create and test new Texture Generators easily, providing a simple way to adjust their values and see the results.

The editor window to help create and test new texture generators.

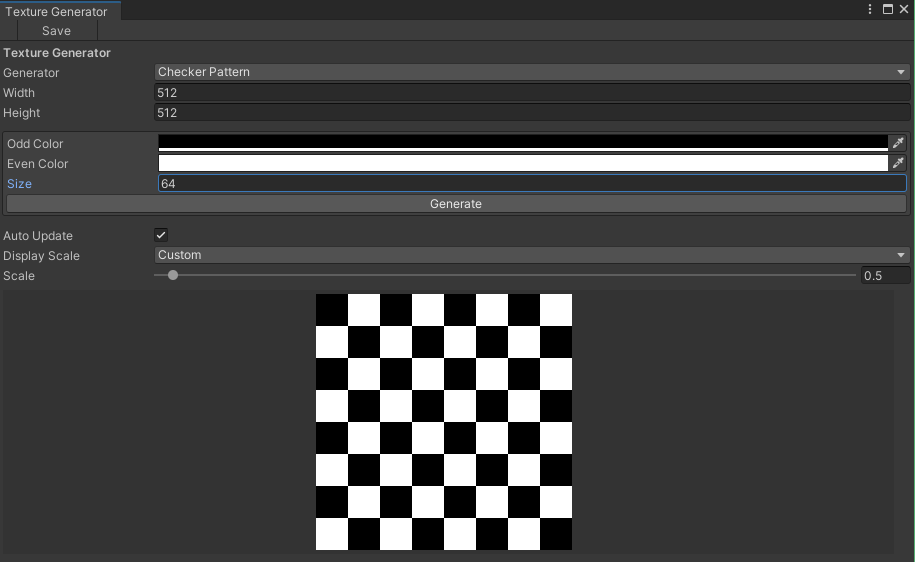
The first generator was a basic checker pattern. I wanted to figure out the basic interfaces needed to create the window editor and how to generate textures, before moving onto anything more complicated.

A simple black and white checker pattern.

I then experimented with generating gradients, creating a UV gradient, and a diagonal color gradient.

UV Gradient
Black and white diagonal gradient.

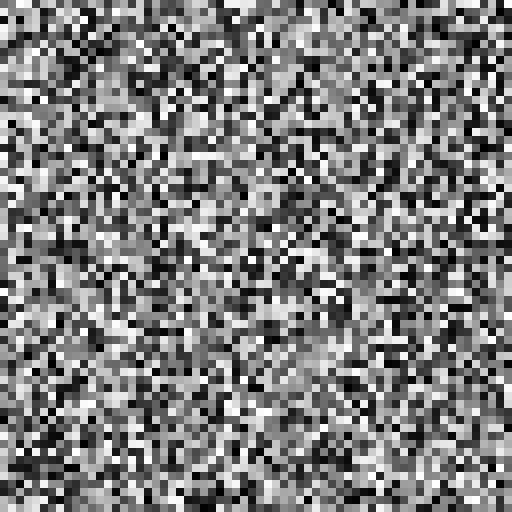
Next, I tried a variety of noise algorithms. Using Unity’s Random class, to generate a random texture.

Random noise generated using Unity’s Random.value.

I also added support for Value and Perlin noise.

Value Noise
Perlin2D Noise

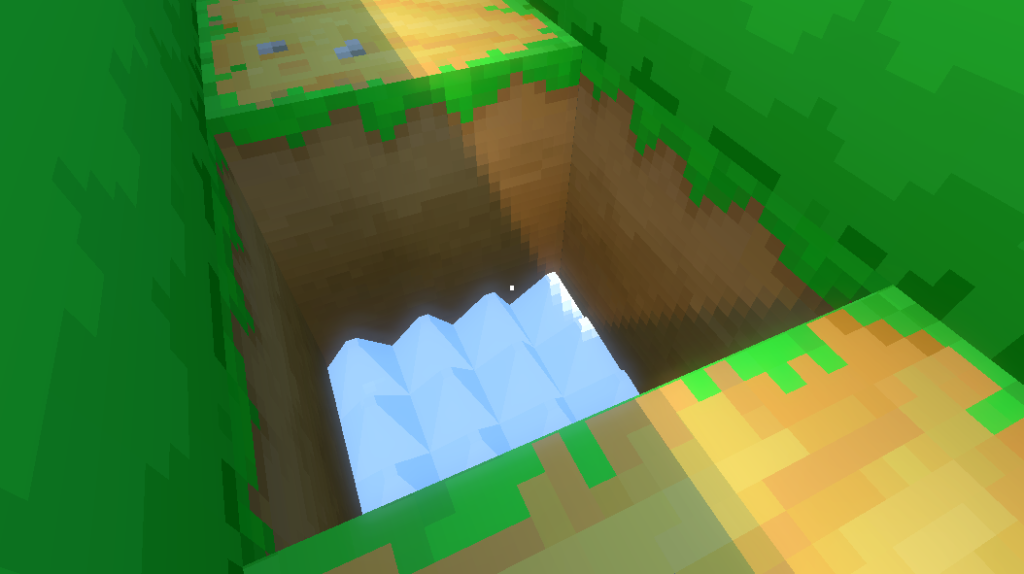
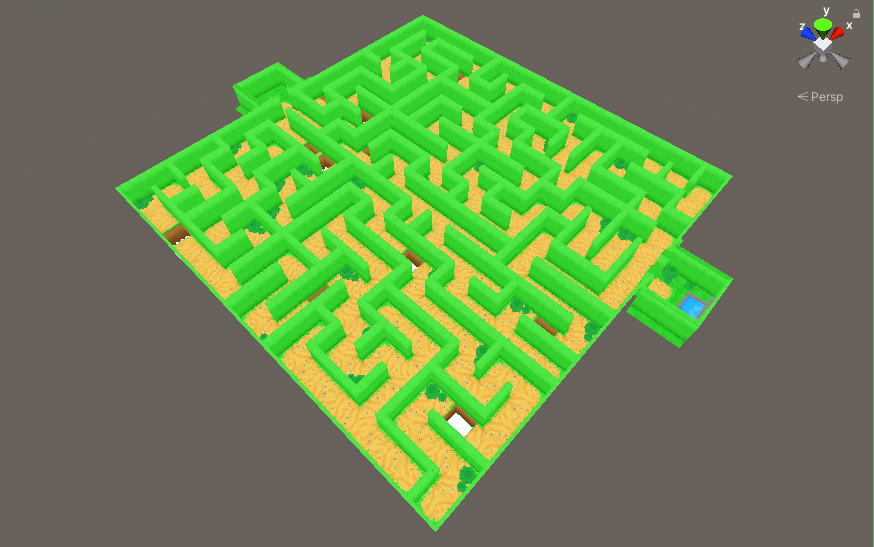
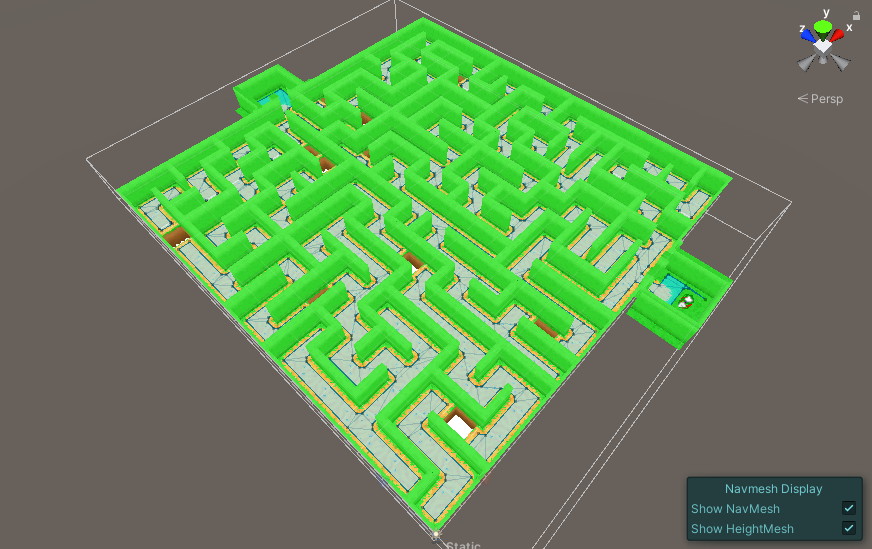
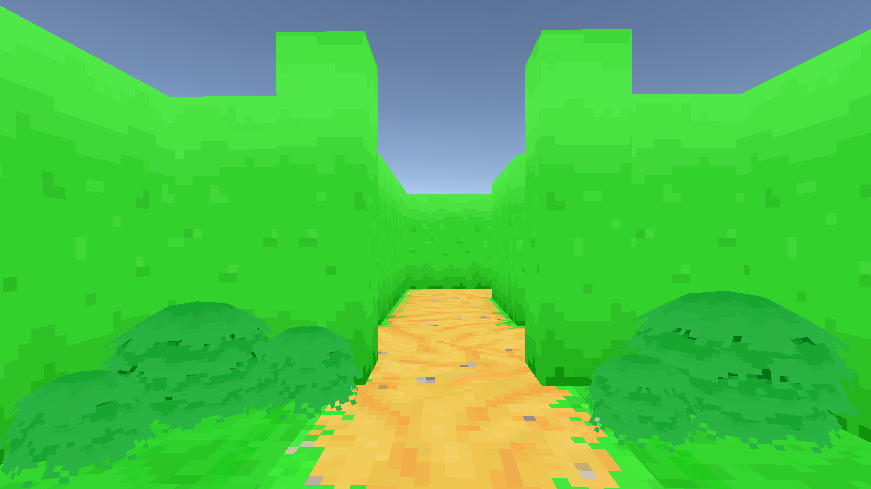
I’ll be using these textures to help generate and visualize variations that will be used in The Maze Where the Minotaur Lives for walls and other effects.

Improving Performance

When adjusting the settings for the Perlin noise, there is a delay between the slider being changed and when the texture is generated. This is even more noticeable when adjusting the noise’s octave to higher levels.

This isn’t too big of a problem while loading and generating a map in-game, especially when the maps are small. But I couldn’t help wonder if I could tweak the code to increase the performance by using Unity’s Job System in the editor.

I have dabbled with it in the past, but I’ve never found much use for it, at least until now.

My initial attempt was to take the code and put it inside a “Job”, to see what would happen. Surprisingly, it ran slower. My best guess is that moving work to another thread and waiting for it to complete is just that, moving it somewhere else to wait for it.

I then converted the code to use an “IJobParallelFor” instead. Parallel jobs can be used to schedule batches to run the same job across multiple processes. And since the noise is calculated per pixel, it’s safe to generate the noise using batches.

There was a decent improvement in the GUI, with less delay when generating a 512×512 texture.

Even with some minor tweaks to the code and number of batches, the changes in performance were minor, with still noticeable delays in the GUI.

So I decided to take it one step further, and try out Unity’s Burst compiler.

I’ve heard and seen a few examples of it in action, and it looks a lot like black magic. So this felt like a good opportunity to try it out myself.

The top line is what black magic looks like.

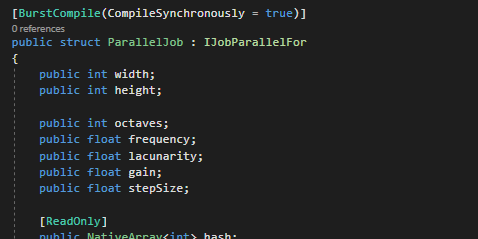
Adding one line at the top of the job struct to use the Burst compiler with the job, the performance gain was incredible. The GUI now has no delays at all when adjusting the parameters for a 512×512 noise texture.

With a 1024×1024 texture, the Burst version has similar responsiveness as the CPU-bound version. With the CPU-bound version at 1024×1024 giving you enough time to make a coffee and come back.


Next, I’ll be updating the procedural framework to make use of these textures. I’m not entirely sure how long that will take with my current workload, but I’m looking forward to putting these to use and seeing what kinds of results I can get.

Maze Gameplay #3 – Objectives


Over the last week, I’ve been working on adding small objectives to make escaping the maze more challenging.

In the original project, to escape the maze, the player had to find a key that opened a gate to a portal which let them escape the maze.

A screenshot of the original Minotaur Maze project, with the key near the exit and the minotaur hiding in the background.

I wanted to do one better, initially coming up with a list of ideas that I thought would be fun. Though, many of them I decided not to do because I felt like they weren’t in the spirit of the game. With some requiring gameplay mechanics beyond the scope of the project.

So after talking through some of my ideas with my partner, I decided to stick with the original project’s design. We ended up focusing on smaller ideas around finding the key to open a gate and escape, which kept the project’s scope manageable.

Instead of finding a key, you have to find chests. One chest will have a key in it, while the other chests will have rocks. The key opens the gate to the exit, and the rocks can be used to defend yourself against the minotaur by throwing them at its head to stun it.

The key chest, including some new HUD elements to track health and rocks collected.

Since the maze is procedurally generated, the chests are placed at dead-ends that are in a certain range away from the player. This is to keep them far enough away so they don’t spawn too close to the start, but not so far that they’ll spawn close to the exit too.

The distance field used to determine chest placement. Purple-blues indicate the closest distance to the start, while yellow-reds indicate the distance farthest from it.
The selected range to place chests with out them being too close to the starting area.

With procedural generation, there is always a chance that there may not be any dead-ends in the selected range. If that happens, the code falls back to selecting a random dead-end. This is just to ensure that all generated mazes are playable and completable.

Once the player finds the key chest, they can open the gate at the exit, escaping the maze and the minotaur.

Next, I’ll be moving onto visual improvements, focusing on the art and adding some visual effects.

Maze Gameplay #1 – Improving the Maze


This week my focus was on gameplay for the little SRP maze project, hoping to make it more like a game and less like a walking simulator.

I wanted to keep it simple, improving on the original project, and addressing obvious issues with its game design.

I covered a lot of ground this week, so I’m splitting them up into multiple articles just to keep them short.


The original project “Minotaur Maze” was my first Unity web project, made way back in 2013. This was when Unity had plans to integrate Flash, which they quickly abandoned. So like any first attempt, its game design was boring.

But something I discovered when reviewing its code was that I’m still using code from that project even now, all these years later.

If it works well, why change it.


The first thing I started on was improving the maze algorithm and adding support for looping paths.

One path. One boring opportunity.

Some of the maze results often felt linear, making it feel like you’re following a path more than exploring a maze. Pick the right path, you win, pick the wrong path, backtrack to the right path.

The common solution to this problem is to remove walls at random, which creates a chance to connect areas and introduce loops.

But randomly removing walls won’t always keep the feeling of a “true maze” since it can also add room-like areas.

Removing 30% of the selected walls breaks the “maziness” of the maze.

To prevent rooms from being generated, I check if the path on the other side of the wall is reachable before removing a wall. If it’s reachable, I keep the wall. But if it’s not reachable, it’s a safe candidate to have the wall removed without creating a room.

Removing 30% of the walls that aren’t reachable creates more paths and no rooms.

The change increases the number of possible paths for the player to choose to reach the end, while also increasing the chance for them to get lost through walking in circles.

For a little added challenge, I added pits to help break up all the walking by having player’s jump over them.

Watch your step.

They can also act as loose landmarks for the player to keep track of where they’ve been, especially if they’ve been walking in circles.

Just don’t fall in them.


The original project never had pits, even though I intended to add them. At the time, I couldn’t figure out how to generate meaningful pathing information that AI could use. So I left them out.

These days, it’s not a problem.


In the next article, I’ll be adding the Minotaur into the maze and rebuilding its AI.

Revisiting Maze Generation


I started a small side project recently, revisiting an old project and its systems for generating procedural mazes. It was one of my first projects in Unity from many years ago, and my first foray into procedurally generated content for games.

That was some time ago. This was when Unity didn’t have many of the Quality of Life features that it has now. Like the Package Manager, Nested Prefabs, Assembly Definitions, or even C# namespaces. So a lot of “good ideas” I had around that time didn’t age well and I had to spend a few days re-doing.

With this little project, I’ve decided to dive into Unity’s Scriptable Rendering Pipeline and apply what I’m learning to an actual game production.

I’m also secretly trying to gain a little insight into how it works to solve a few problems on The Very Organized Thief, without disrupting its development too much.

After a bit of digging through some ancient code, I’ve managed to get the procedural maze generation running again.

A generated maze. The art used was taken from the original project and updated to work with the new maze generation system.

So how does it work.

First, I generate a map by using a Depth First algorithm. Mapping out the corridors and walls and storing it as high-level data.

The maze data generated before adding the visuals. The coloring is from an existing system created to detect “islands” which was not made to work for mazes.

I then do a second pass using that data to determine more specific features, such as how it should look, where the start and end should be, and what brush it should use to generate the final look.

Then I generate the visuals, determining what brush to use and its orientation so I can place the correct 3d model. I can also add variation at this point based on the desired frequency, which is how I’m adding the pits and the turns with bushes.

The tileset brush which let’s you control what prefab to generate and possible variations.

Once it’s done all that, I then generate pathfinding data which I can then use for AI.

The blue paths are the generated Navigation Meshes.

One of the greatest additions to Unity in recent years that makes authoring procedural brushes easier, has been Nested Prefabs.

In older versions of Unity, if you constructed a new prefab out of other prefabs, the other prefabs would become “baked” into the new prefab. So if you needed a specific object, like a bush or something, that was shared across multiple prefabs. You had to go into each prefab that used it and manually modify that bush. It was tedious and not very fun.

But with Nested Prefabs, you can create a prefab of a bush, and nest it inside another prefab. So if I make changes or add features to the bush, all other prefabs that have a nested version, are updated too. Very useful, and without the tedium.


So far it’s good enough and should give me enough to play with while coming up with a better shader to start learning more about Unity’s Scriptable Rendering Pipeline.

It’s very easy to learn something, but without some kind of project or game to use it on, it can be difficult to apply what you learn to larger systems, especially when you don’t know how it should work entirely.

You have to start somewhere.

Everything is very flat, but that should change once I start adding lighting support again and working out how to control the rendering pipeline in Unity.