Maze Gameplay #2 – The Minotaur


Continuing from my last post, I added the minotaur to the maze, focusing on rebuilding its AI and improving its behavior from the original project.

The original AI code was made using a state machine. It got the job done, but as the requirements grew, so did the number of states and their complexity.

For this project, I’m using Behavior Trees instead to drive the Minotaur’s actions and reduce the amount of complexity.

The behavior tree that is driving the minotaur (WIP). It reads left to right, with nodes to the left taking priority if conditions are met.

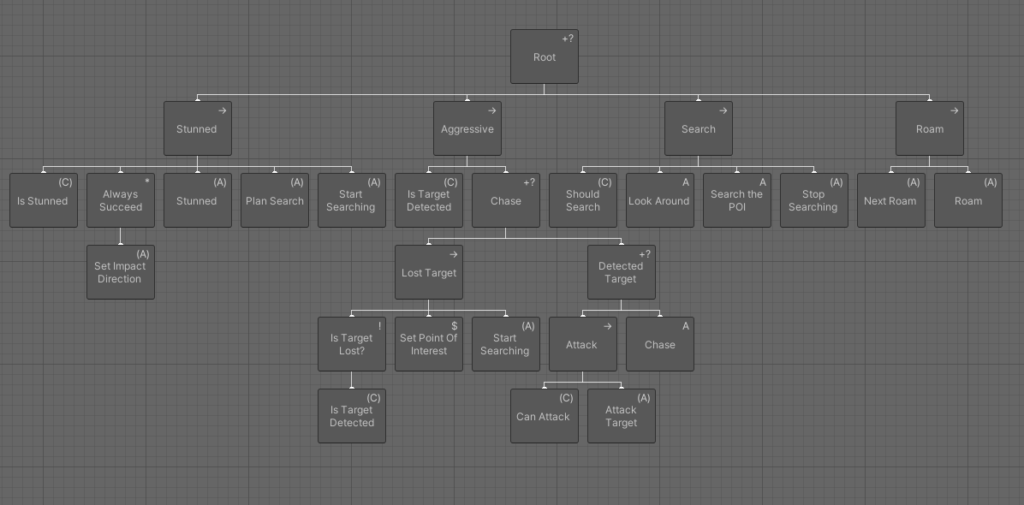
I wanted to keep it simple, sticking to typical indie horror monster intelligence.

The minotaur will roam around the maze, moving from one dead-end to another, endlessly searching. When it sees the player, it will start chasing them, trying to hit them. If the player is unlucky, they die.

A set of sensors on the minotaur, each with different sensitivity, help detect the player and allow the behavior tree to react and make decisions. If the Minotaur sees the player, it will store that information so that the behavior tree can react. If the minotaur losses sight of the player, that information is updated so that the minotaur can decide what to do next.

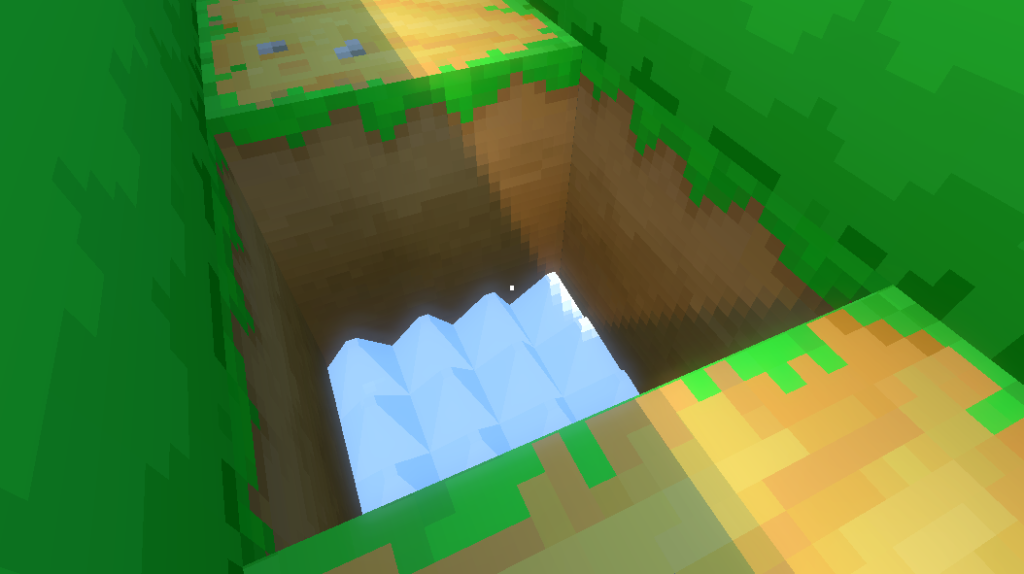
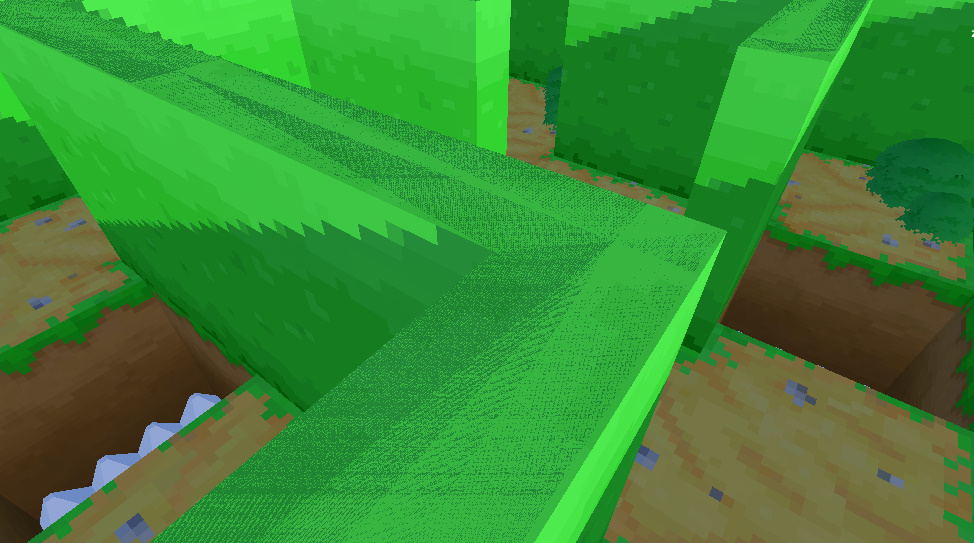
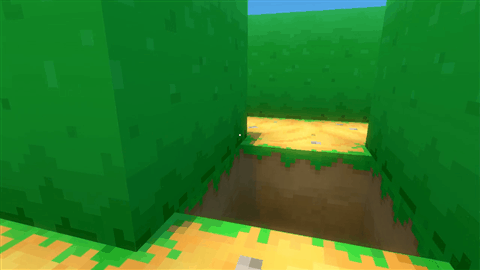
The minotaur also has the ability to jump over pits. This is done using customized Off Mesh Links with Unity’s Navigation Mesh to help connect the gaps. Without them, the minotaur would fail to find a path around the maze.

The minotaur can jump pits. Remember that.

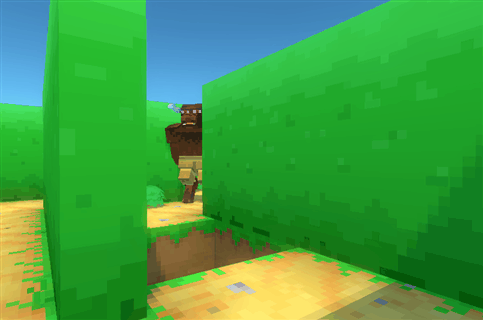
The minotaur is not smart, but it’s menacing enough that when you run into it, you’ll want to change directions.

The minotaur has appeared, it's time to run in the other direction.
Time to run away.

Since the major threat in this maze is the Minotaur, I wanted to make sure the player always knows it.

In the original project, there were only loud stomping footsteps that could be heard to emphasize the minotaur’s presence. It helped, but it wasn’t enough, especially if it was played without sound.

To make improvements, I added a camera shake to help communicate visually when the Minotaur’s nearby. Now when it’s near the player or chasing, the screen will shake, increasing in intensity as it gets closer.

Stomp, stomp, stomp!

The player isn’t completely defenseless. They can find rocks that they can use to throw at the minotaur’s head to temporarily stun him, creating an opportunity for the player to run away.

The rocks can also help keep track of paths that they may suspect to loop around. So it can be a useful tool or a defensive weapon.

But how you get these rocks I’ll write about in the next article, “Objectives”.

Maze Gameplay #1 – Improving the Maze


This week my focus was on gameplay for the little SRP maze project, hoping to make it more like a game and less like a walking simulator.

I wanted to keep it simple, improving on the original project, and addressing obvious issues with its game design.

I covered a lot of ground this week, so I’m splitting them up into multiple articles just to keep them short.


The original project “Minotaur Maze” was my first Unity web project, made way back in 2013. This was when Unity had plans to integrate Flash, which they quickly abandoned. So like any first attempt, its game design was boring.

But something I discovered when reviewing its code was that I’m still using code from that project even now, all these years later.

If it works well, why change it.


The first thing I started on was improving the maze algorithm and adding support for looping paths.

One path. One boring opportunity.

Some of the maze results often felt linear, making it feel like you’re following a path more than exploring a maze. Pick the right path, you win, pick the wrong path, backtrack to the right path.

The common solution to this problem is to remove walls at random, which creates a chance to connect areas and introduce loops.

But randomly removing walls won’t always keep the feeling of a “true maze” since it can also add room-like areas.

Removing 30% of the selected walls breaks the “maziness” of the maze.

To prevent rooms from being generated, I check if the path on the other side of the wall is reachable before removing a wall. If it’s reachable, I keep the wall. But if it’s not reachable, it’s a safe candidate to have the wall removed without creating a room.

Removing 30% of the walls that aren’t reachable creates more paths and no rooms.

The change increases the number of possible paths for the player to choose to reach the end, while also increasing the chance for them to get lost through walking in circles.

For a little added challenge, I added pits to help break up all the walking by having player’s jump over them.

Watch your step.

They can also act as loose landmarks for the player to keep track of where they’ve been, especially if they’ve been walking in circles.

Just don’t fall in them.


The original project never had pits, even though I intended to add them. At the time, I couldn’t figure out how to generate meaningful pathing information that AI could use. So I left them out.

These days, it’s not a problem.


In the next article, I’ll be adding the Minotaur into the maze and rebuilding its AI.

More Lights and Shadows


This week I worked on adding point lights, spotlights, and post-processing effects in the Unity SRP maze project.

A simple scene using a point light and a spot light to create it’s shadows. And little bloom to create some glowing highlights.

The first thing I did was create a light source in the maze, by adding lamps, as a starting point to implement point and spot light-related shadows.

The initial implementation didn’t work very well, highlighting issues with the pixelated shadow effect, creating shadows on the walls, and in corners, where there shouldn’t be any.

Point light shadows creating extra shadows on the walls behind the lamps and in the corners. The bushes don’t look that great either.

I ended up changing how the world pixel position was being calculated, taking into account the light direction. If the position is facing the light, move it towards the light, else if it’s not, move it away.

Doing this per light corrected the issues with the shadows and also helped created more accurate looking lighting.

Modifying the world pixel position per light creates more accurate shadows. The bushes look nicer too.

I also worked on post-processing effects to understand how to integrate them into SRP.

Since the lighting from the lamps looked a little plain, I wanted to make them stand out by having them glow from a simple bloom effect.

The effect is done by resizing the screen image and blurring the pixels in several passes. The bright and dark areas of the blurred image are then exaggerated, which is then combined with the final screen to create the glow.

A little bit of bloom adds a lot to the lighting.

You can think of it as adding filters and effects in an image editing tool like Photoshop or GIMP.

Just for fun, I experimented with a pixelated post-processing effect.

Pixelating the final screen which includes the bloom effect. Looks pretty neat.
An even more pixelated version.

The effect defeats the purpose of maintaining the pixel art shadows since it hides them. But it was a fun experiment to help me understand how to combine post-processing effects in SRP.


I’ve always felt that I’ve had to leave it up to Unity with how some things work. Making guesses, or even coming up with solutions that feel more like a hack than an actual solution.

But working at this level of code in SRP (not quite low and not quite high) to come up with a solution for my own rendering requirements, has been a nice and welcome change.

Next, I’m turning my attention to gameplay and improving the maze generation to make this into a playable game and encourage more specific effects for me to create in SRP.

Lighting the Maze


I started adding lighting support to the little maze project that I’m using to learn Unity’s Scriptable Rendering Pipeline (SRP).

I’ve been following catlikecoding’s tutorials on SRP to help as a starting point and navigate some of the quirks, and see how lighting can be handled.


If you’re a Unity developer, check out catlikecoding. Their tutorials are great.


It took a few days to get through the ones I wanted to learn about. But once I got them working, I started to experiment.

I’ve always found a good way to learn anything is to follow the steps laid out, and then divert off and experiment. Giving yourself a chance to learn by making your own mistakes.

For the little maze, I wanted to see if I could maintain the pixel art aesthetic in the lighting. Trying to make shadows match the pixel art.

Making shadows align to the texture pixels, can’t be done by just turning off filtering apparently.

It still needs some work but I’m happy with how it turned out.

So how’s it done?

I take the world-space position of the pixel on the screen and convert it into a world-space pixel position, which is then used by the lighting functions to calculate the shadow.

The position of each pixel to be used by the lighting calculation and exaggerated for sake of looking kind of neat.

Below is a little code snippet of how it’s calculated on the shader.

half pixelSize = GetShadowPixel();
float3 pixel_pos = floor(input.worldPosition / pixelSize) * pixelSize;

More can be done to calculate a better position, which I’ll return to once I’ve made more progress. But being able to manipulate values, and knowing how the code using it will be executed, always feels good. It feels less like a black box.

Though it wasn’t without problems.

Exact alignment with world-space pixel position causes noisy pixels.

There were issues with flickering, aligning shadows to the pixels, and light passing through seemingly solid meshes which took a bit of experimenting to solve.


There is room for improvement, but so far I’m happy with how it’s looking.

Using the new lighting in a day night cycle.

The lighting, shadows, and ambient color are driven by a day-night cycle component, which I rewrote from the old maze project.

Unity’s rendering pipeline feels a little less mysterious to me now. And I’m looking forward to exploring the limits of what I can do as I continue to work with it.

But next up, I’m going to dive a little deeper into supporting more lighting features. I’d like to add more light sources like a lantern or sconce to light up the maze at night. It should be fun.