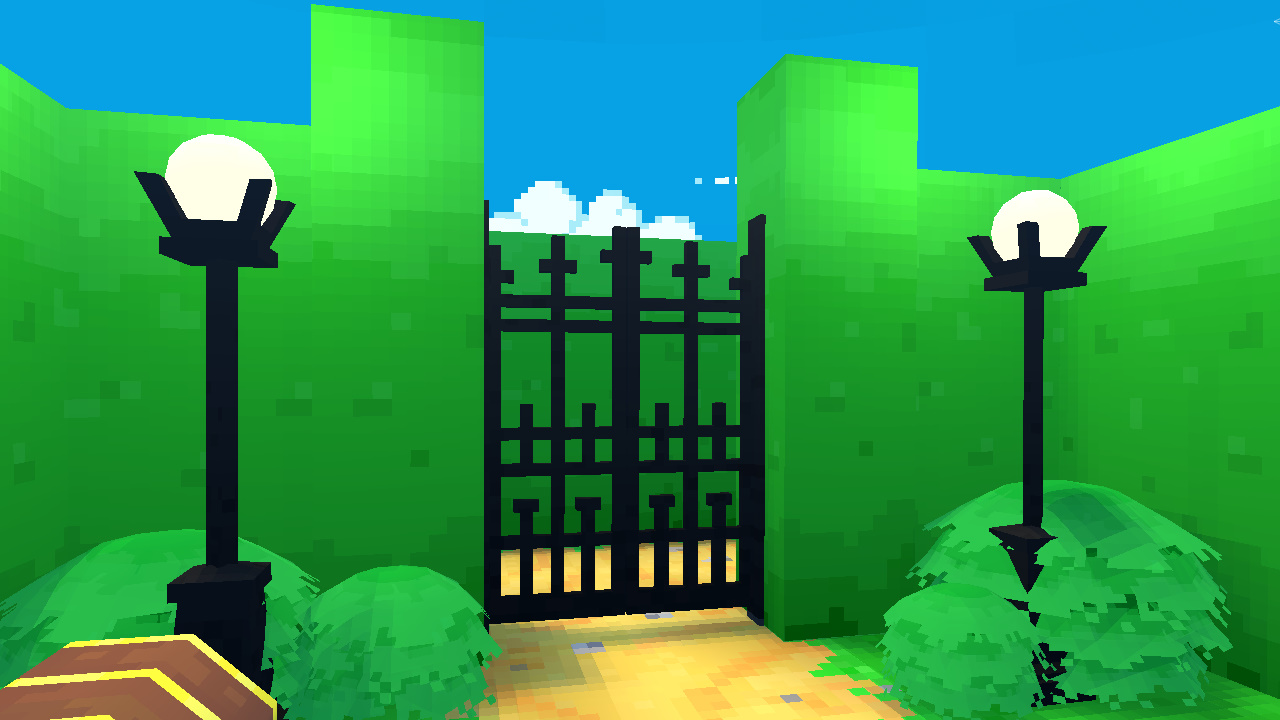
This week I worked on optimization, focusing on visibility culling in the maze to reduce the amount of overdraw and learn where it fits into the Unity Scriptable Rendering Pipeline.
Since the maze is procedurally generated at runtime, I can’t use Unity’s in-built occlusion system to minimize the overdraw. That means I need to come up with my own solution to manage occlusion culling.
I started out by researching a few techniques for occlusion culling, looking at how classic rogue-like games do shadow casting in tile-based dungeons, and toying with the idea of some kind of specialized flood fill algorithm to figure out what should be visible.
It was interesting, but it all felt a little overkill.
So I ended up going with a simpler approach, which was raycasting and grid intersections.
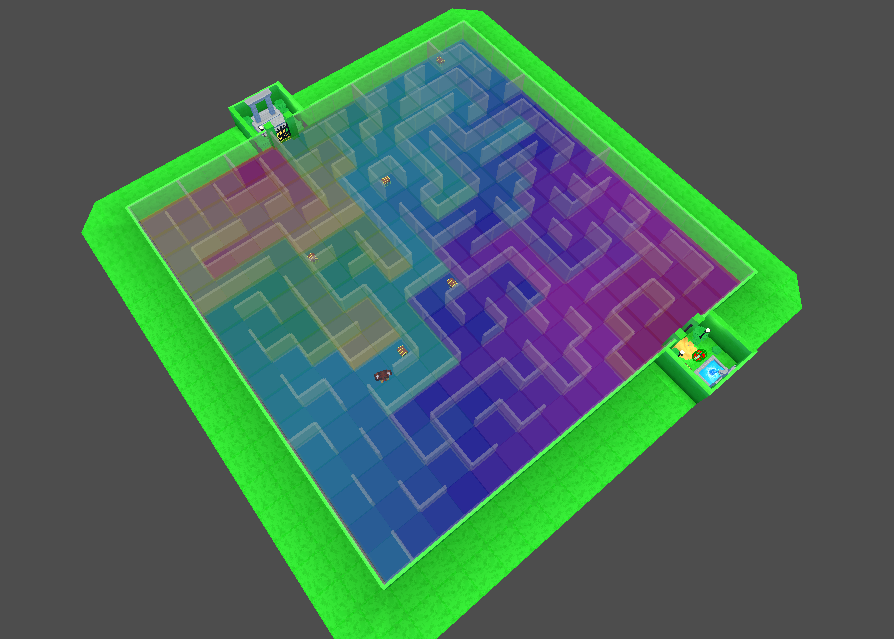
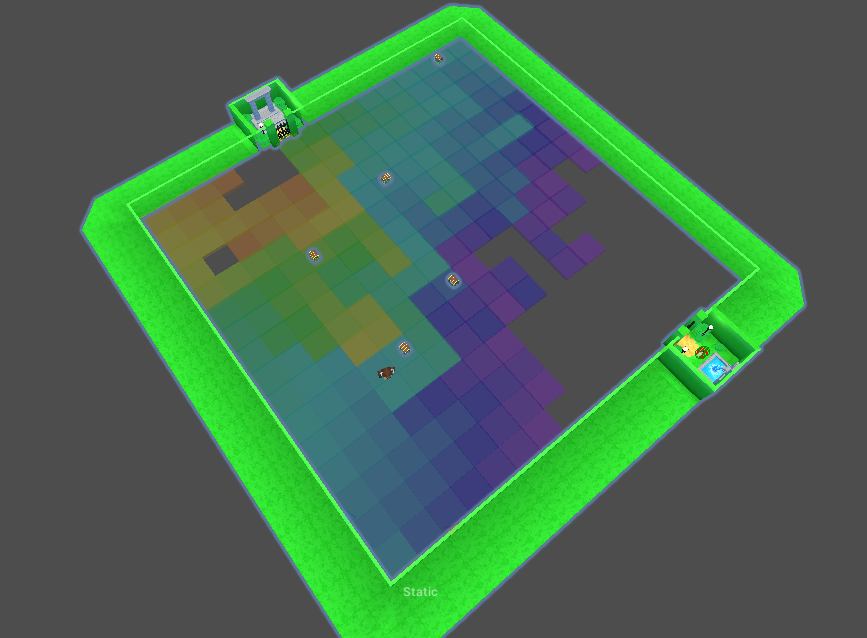
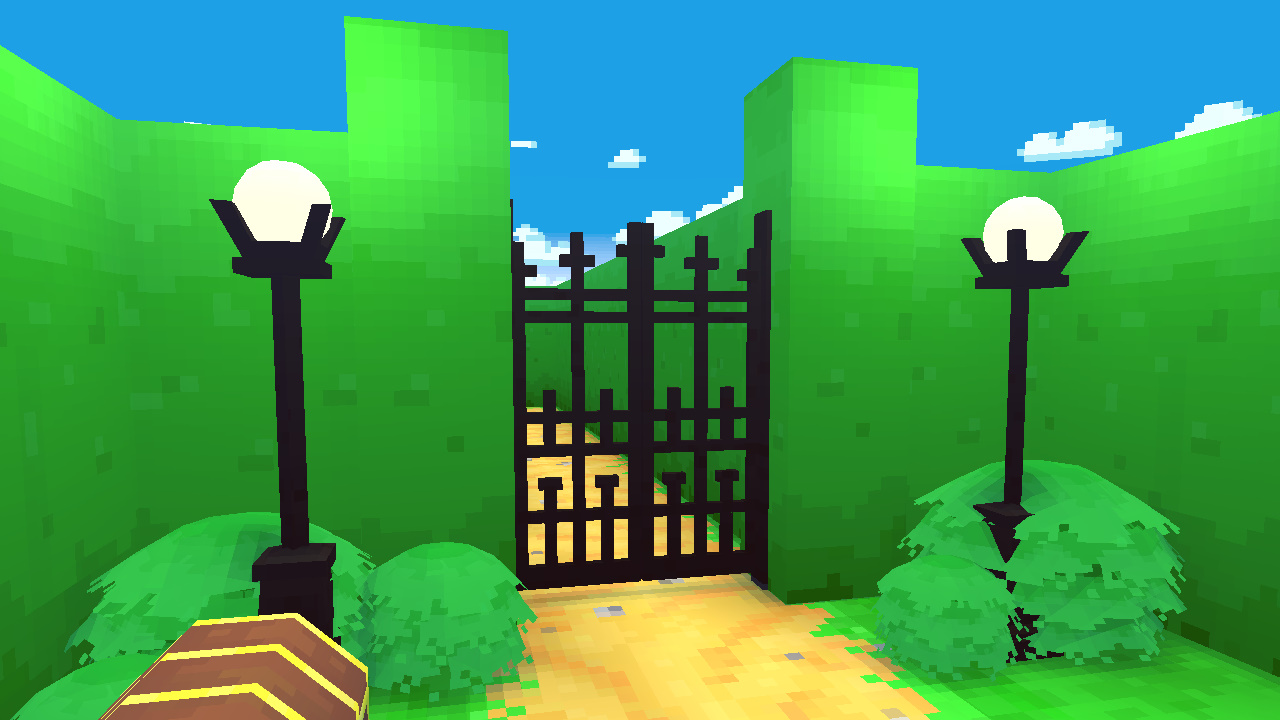
Since it’s in first-person, I only needed to make sure that walls immediately in front of the camera were visible. And since the maze is generated on a grid, grid intersection made the most sense.
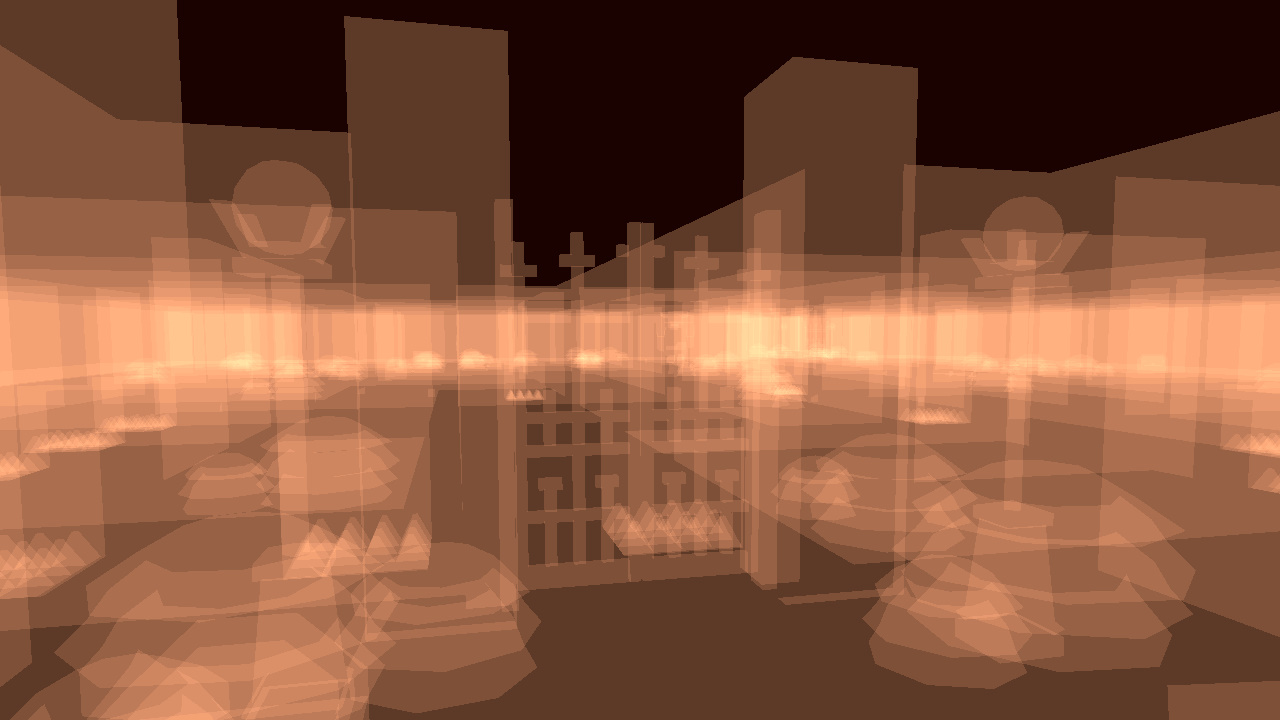
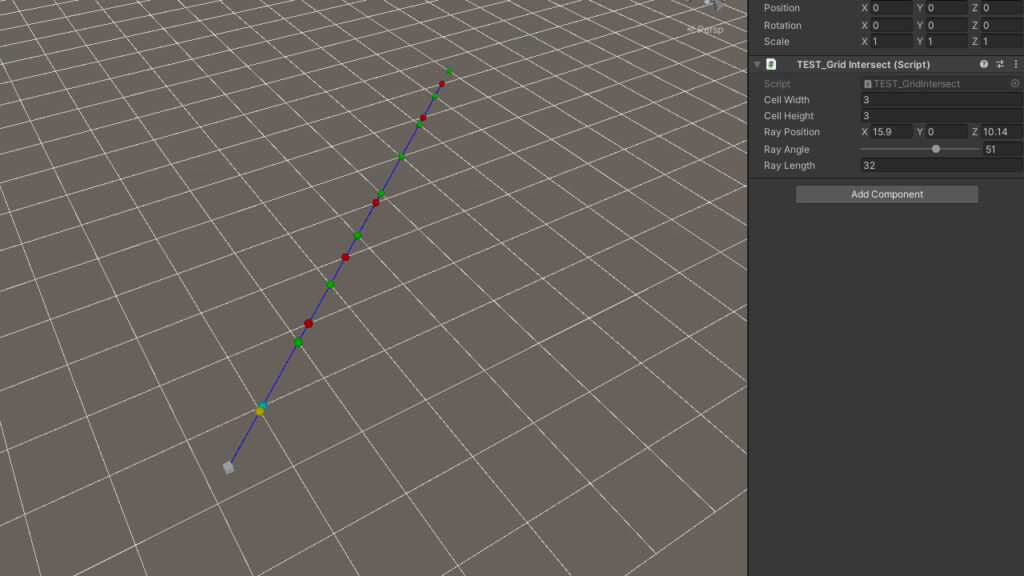
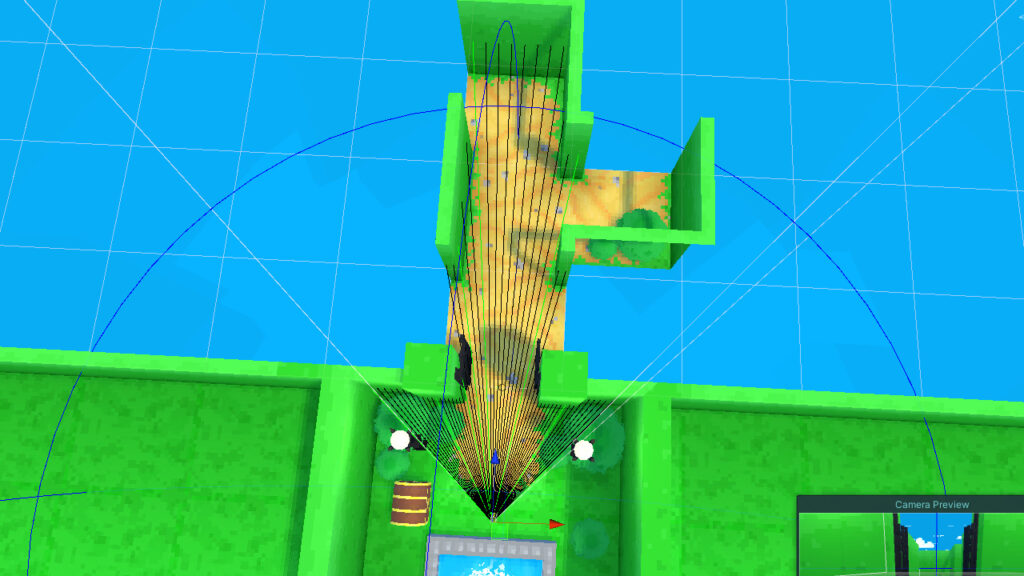
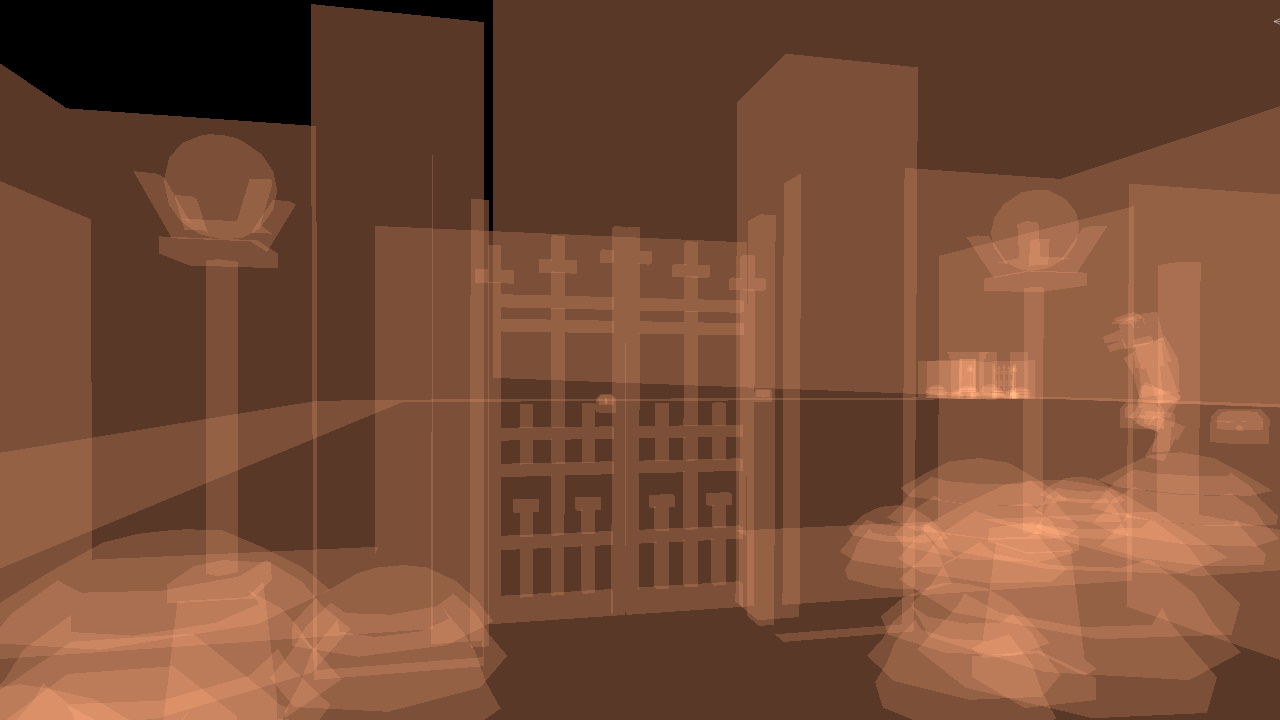
First, I cast a series of rays across the viewing angle of the camera like a fan, ignoring any up and down rotation. When the ray hits a wall, I convert the hit position into a grid coordinate, which I then keep in a “visible” list.
I then use the line between the camera and the ray’s hit point to calculate where it intersects the maze grid, and calculate the visible cells along that line, adding any new cells to the “visible” list.
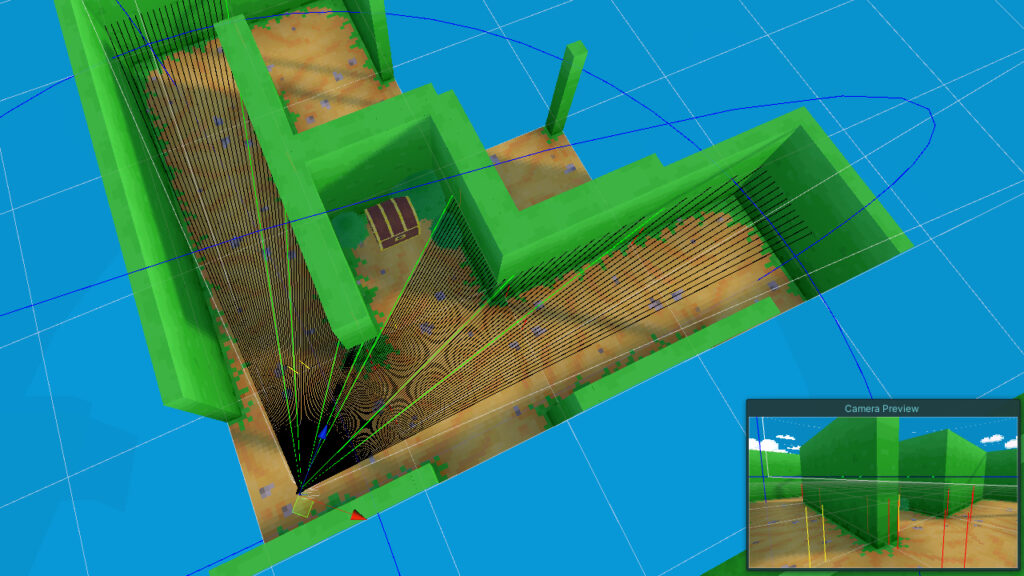
I then expand the “visible” list to include neighboring cells. This ensures that shadows cast by walls on the opposite side don’t disappear and prevents creating light where there shouldn’t be any.
Any walls that aren’t detected by the rays, are turned off, or culled.
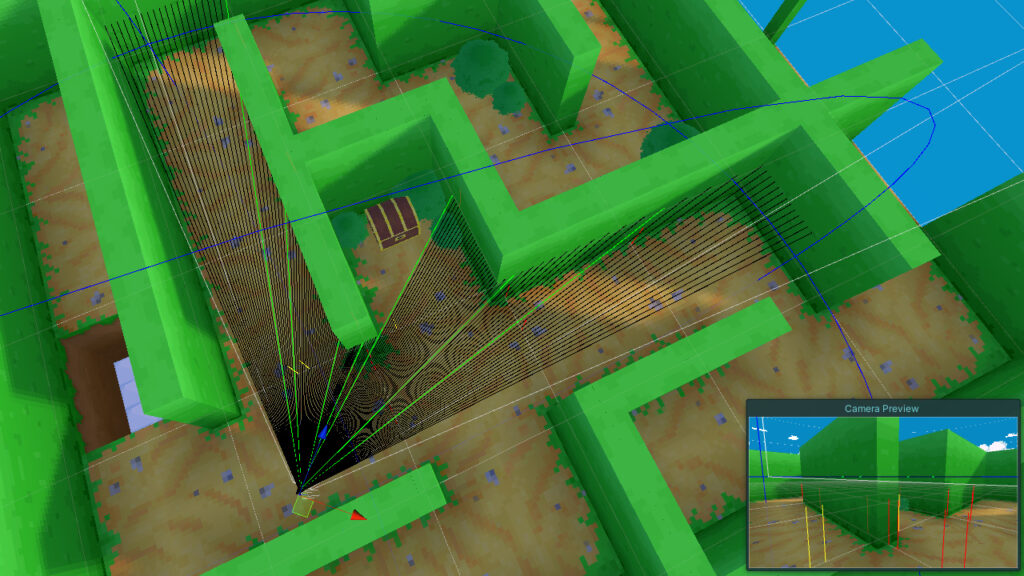
It worked for a stationary camera. But once I started moving around the maze there were holes where walls should be. This problem was especially noticeable near corners.
To fix it, I modified the rays to fire from the side of the camera instead, which allows the culling system to see around the corners before the player does.

The problem still happens, but it’s less obvious.
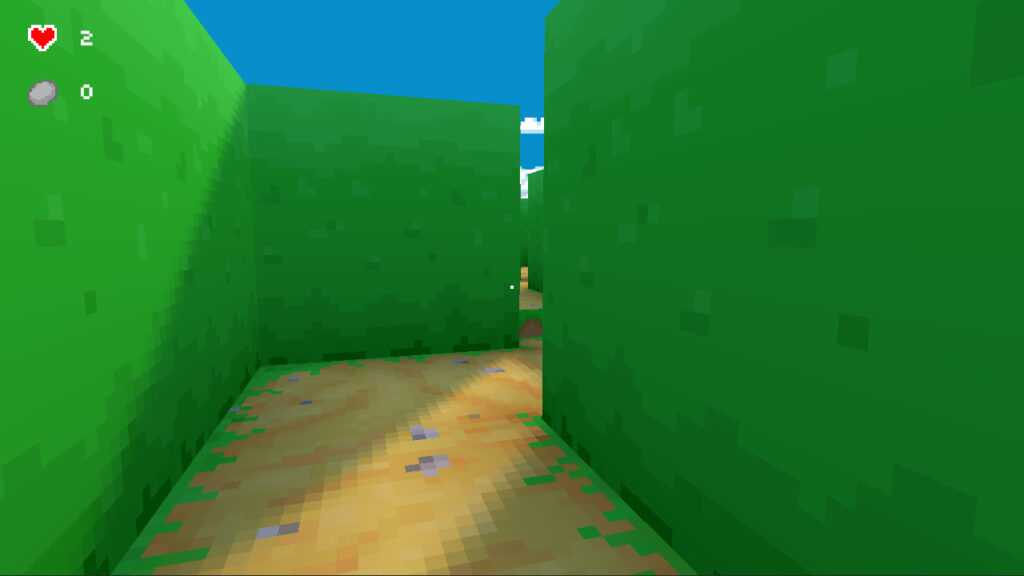
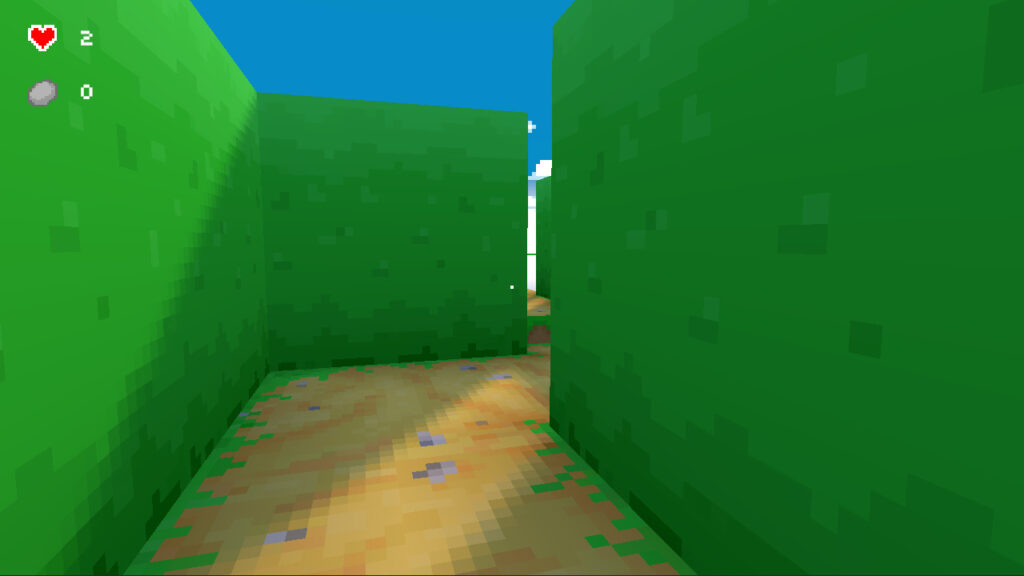
With culling enabled, the amount of overdraw is significantly reduced. And because there is less to render, it also reduces the number of walls and objects that need to be rendered for shadow casting lights.
After a bit of tweaking and adjusting, I managed to increase the frame rate by 50 to 100 frames.
I originally learned the raycasting technique last year in a course by Gustavo Pezzi of Pikuma called “Raycasting Programming with C”. It’s a great course that goes over creating a classic Wolfenstein-style game. If you’re interested in that kind of thing, you should check it out at http://Pikuma.com.
There are still a lot of improvements I’d like to make to how the maze culling works, especially since it only culls the inside of the maze. But I’m not going to worry about it too much yet.
I’m not sure what I’ll be moving on to next, but I am hoping to start finishing this little project up. So I guess my focus next will be to finish it maybe?