Author Archive

Shader Variant Stripping in Custom SRP


This week I’ve been looking at Shader Variant Stripping while using a Custom Scriptable Rendering Pipeline (SRP).

Last year I was working on a small project called “The Maze Where The Minotaur Lives” to create a Custom Scriptable Rendering Pipeline and learn more about Shaders and Rendering in Unity.

And on and off for the last year, I’ve been taking what I’ve learned to create another Custom SRP to refine my understanding and address issues I encountered during that project.
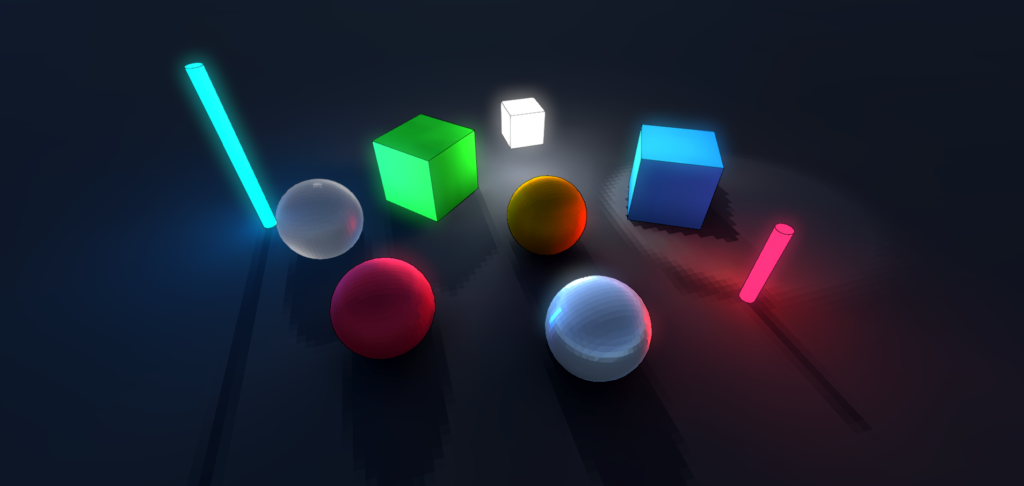
The Retro Rendering Pipeline pixelates Shadows, Specular Highlights, Reflections, and Refractions.

One of those issues was Shader Variants.

Unity’s Shader compiler automates the creation of every possible shader variant. For every keyword used in a “shader_feature” and “multi_compile” pragma, it generates a variation based on combinations of other shader features and multi-compile keywords.

This is great since it means you don’t have to manually create these variations yourself, which is very time-consuming. But what it does mean is that Unity will automatically create EVERY possible shader variant, whether they are used or not, which is very time-consuming. >: (

This leads to extremely long build times.

This isn’t too bad, since Unity will cache the shader compiler results during the first build so that it can be used in subsequent builds. But, when you’re working on a project where shader changes are frequent, it doesn’t help much. Requiring shaders to recompile, every single time.

What’s worse is Unity will bundle all the unused shader variants with your build, whether they are used or not, adding unnecessary bloat to your final build.

The initial build times I was experiencing on The Maze Where The Minotaur Lives were 2 hours+, creating 120,000+ shader variants for a single diffuse shader. It may have been more since it was some time ago.

Two hours is not something to be proud of and every small change to a shader meant torment.


At University (in 2007), when I was learning about animation, rendering, and compositing for Film. I would often hear the bleeding edge students gloating about having 3-4 hour render times for a single frame in 3DS Max.

They would turn on all the settings, Global Illumination, Ray Traced lighting, and anything else that online tutorials said would make it look pretty.

I never understood that.

Incidentally, my render times were 4 minutes per frame and looked as bad as theirs.
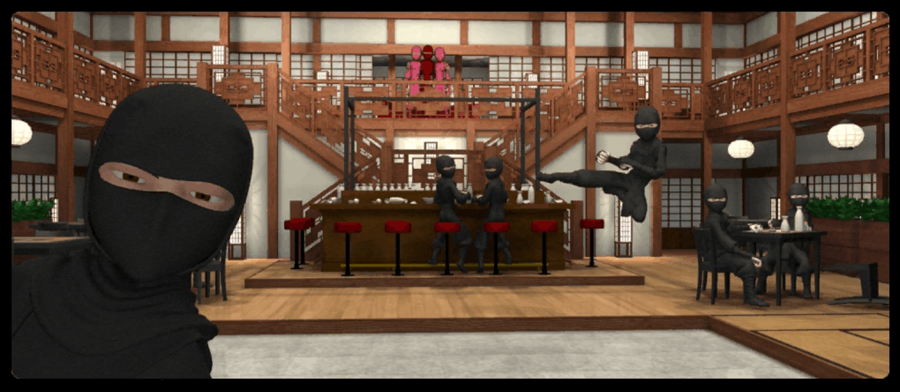
A single frame from my short animation from 2007, called Ninja Stars and was created in 3DS Max.

As an experiment, I wanted to see how long it would take to compile all the shaders when I removed a few optimizations.
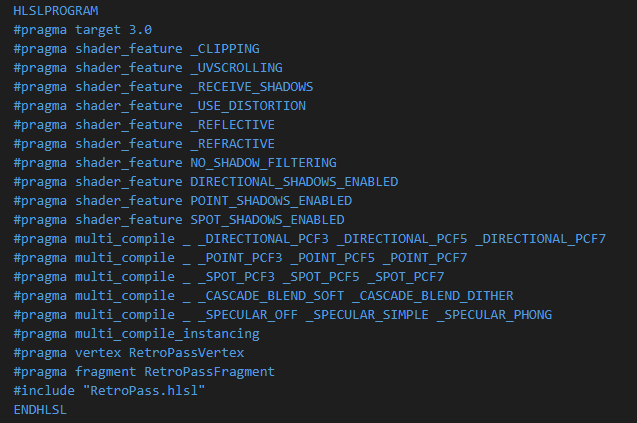
This is what it looks like without any pragma optimizations on the Retro Diffuse shader in The Maze Where The Minotaur Lives.

And this is what it looks like trying to build it.

That’s a lot of shader variants.

To get it working again, I used the “vertex” and “fragment” suffixes to help narrow down which part of the shader the keywords should compile in. I also used the “local” suffix, to ensure that certain keywords only took place within their own shader, and not in combination with other shaders.
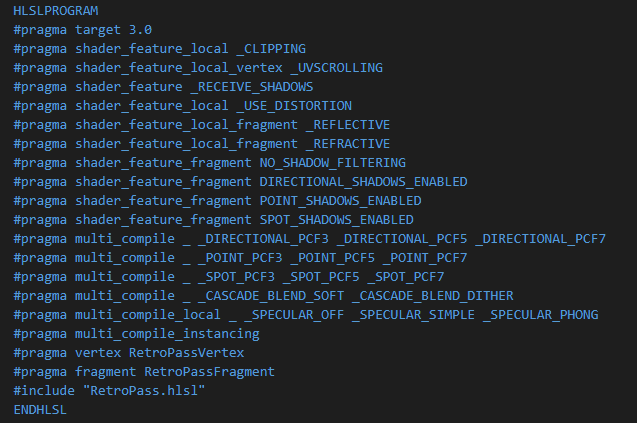
Adding the “local”, “vertex” and “fragment” suffixes to the pragma definitions on the same Retro Diffuse Shader.

And this is what the build looks like now.

On the left is the number of Vertex Shader variants (12,288), and on the right is the number of Fragment Shader variants (392,216).

It’s an improvement, but it would take hours to build and it also introduces many variants that will never be used. And for Android builds, these numbers double.

To optimize and strip this further, I wrote a preprocess that uses the IPreprocessShaders interface and used the rendering pipeline settings to help determine what shader variants could safely be left out.
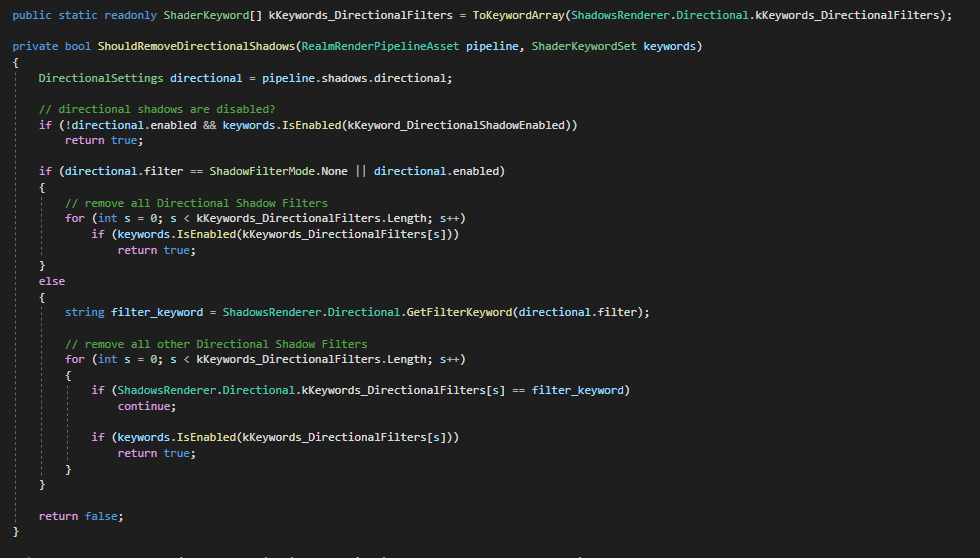
This code snippet removes shader keywords related to Direction Shadows, removing “DIRECTIONAL_SHADOWS_ENABLED” and “_DIRECTION_PCF” keywords.

This is what the builds look like now.

Significantly fewer shader variants.

The stripping process can take some time depending on the number of variants, taking up to 10 minutes+ for some shaders. But it’s a huge reduction in build time, from hours to minutes. It also leaves out the shaders combinations that will never be used.

But when working on Shaders, 10 minutes is still a lot of time to test small changes.

So in the new Retro Rendering Pipeline, I wanted to improve it, focusing on removing unnecessary features and simplifying the Material and Rendering pipeline GUI.
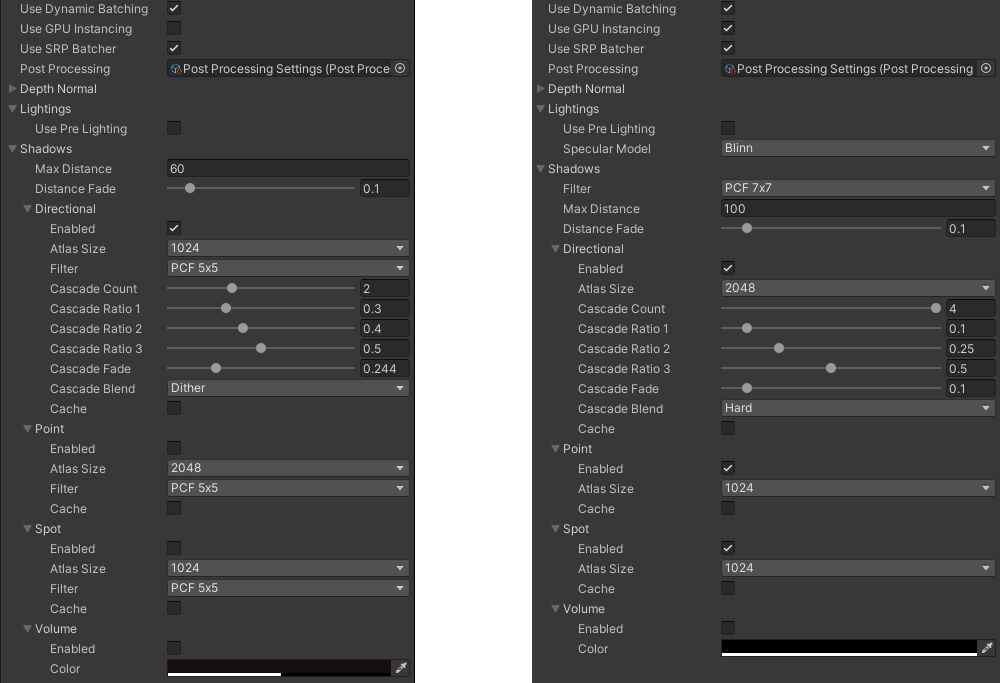
On the left, is the rendering pipeline used in The Maze Where The Minotaur Lives. On the right is the new rendering pipeline.

The biggest change I made was combining all the Light’s Shadow Filtering into a single option for all Light types, which reduces the number of shader variants significantly. I also moved the Specular lighting model to be global instead of per material, simplifying the material interface to have a simple “Use Specular” check box.

The new Retro Diffuse shader during build time (without stripping) generates 42,000+ Fragment Variants, taking 1.5+ hours to compile. With the variant stripping preprocess, the number is down to 512, taking less than 5 minutes to compile.
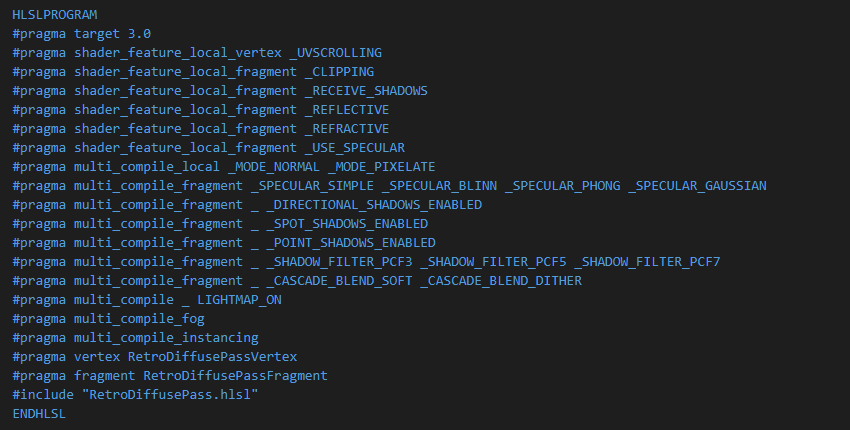
The new Diffuse shader removes Shadow Filtering per light type and combines them into a single set of Keywords, reducing the number of variants.

The reduction in build time is very welcome.


If you’d like to know more, the Unity Blog posted a great article, “Stripping scriptable shader variants“, covering shader stripping in-depth. It’s worth a read if you’re working with Shaders and/or Custom Rendering Pipelines.
Texture Generation


This past week I’ve been experimenting with Texture Generation to learn more about procedural generation and apply what I learn to The Maze Where The Minotaur Lives.

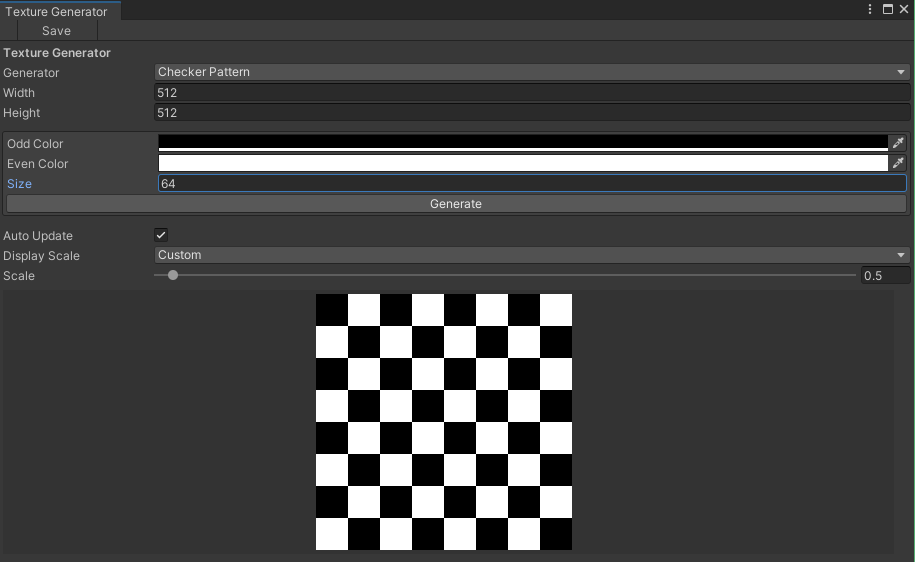
To start out, I created a simple editor window in Unity to let me create and test new Texture Generators easily, providing a simple way to adjust their values and see the results.

The editor window to help create and test new texture generators.

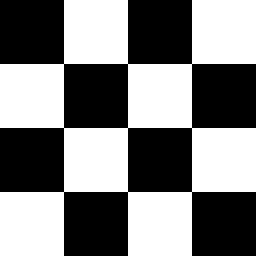
The first generator was a basic checker pattern. I wanted to figure out the basic interfaces needed to create the window editor and how to generate textures, before moving onto anything more complicated.

A simple black and white checker pattern.

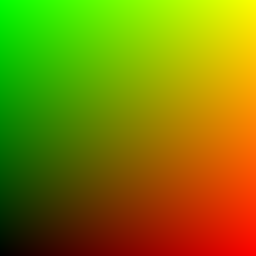
I then experimented with generating gradients, creating a UV gradient, and a diagonal color gradient.

UV Gradient
Black and white diagonal gradient.

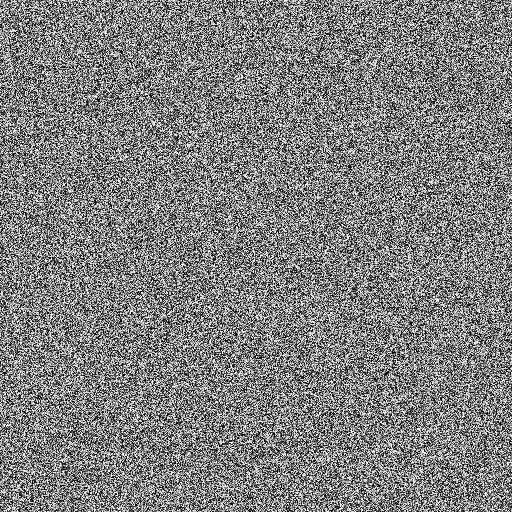
Next, I tried a variety of noise algorithms. Using Unity’s Random class, to generate a random texture.

Random noise generated using Unity’s Random.value.

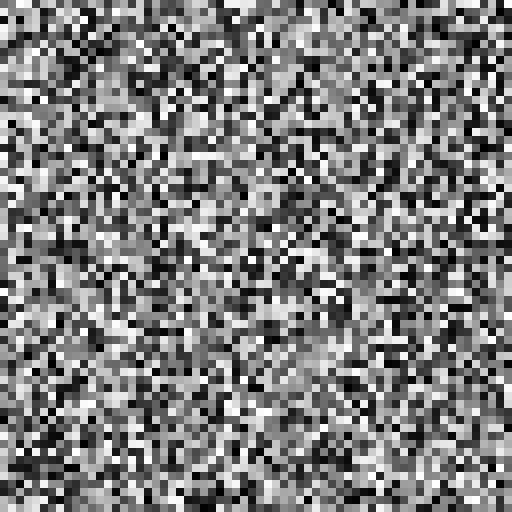
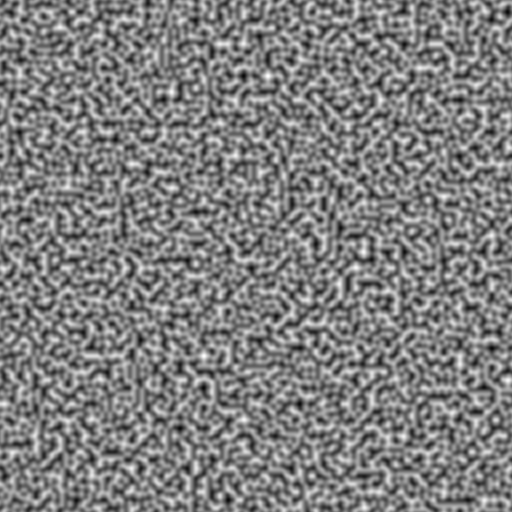
I also added support for Value and Perlin noise.

Value Noise
Perlin2D Noise

I’ll be using these textures to help generate and visualize variations that will be used in The Maze Where the Minotaur Lives for walls and other effects.

Improving Performance

When adjusting the settings for the Perlin noise, there is a delay between the slider being changed and when the texture is generated. This is even more noticeable when adjusting the noise’s octave to higher levels.

This isn’t too big of a problem while loading and generating a map in-game, especially when the maps are small. But I couldn’t help wonder if I could tweak the code to increase the performance by using Unity’s Job System in the editor.

I have dabbled with it in the past, but I’ve never found much use for it, at least until now.

My initial attempt was to take the code and put it inside a “Job”, to see what would happen. Surprisingly, it ran slower. My best guess is that moving work to another thread and waiting for it to complete is just that, moving it somewhere else to wait for it.

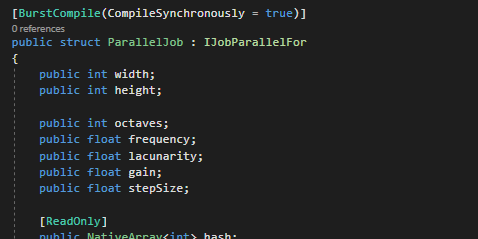
I then converted the code to use an “IJobParallelFor” instead. Parallel jobs can be used to schedule batches to run the same job across multiple processes. And since the noise is calculated per pixel, it’s safe to generate the noise using batches.

There was a decent improvement in the GUI, with less delay when generating a 512×512 texture.

Even with some minor tweaks to the code and number of batches, the changes in performance were minor, with still noticeable delays in the GUI.

So I decided to take it one step further, and try out Unity’s Burst compiler.

I’ve heard and seen a few examples of it in action, and it looks a lot like black magic. So this felt like a good opportunity to try it out myself.

The top line is what black magic looks like.

Adding one line at the top of the job struct to use the Burst compiler with the job, the performance gain was incredible. The GUI now has no delays at all when adjusting the parameters for a 512×512 noise texture.

With a 1024×1024 texture, the Burst version has similar responsiveness as the CPU-bound version. With the CPU-bound version at 1024×1024 giving you enough time to make a coffee and come back.


Next, I’ll be updating the procedural framework to make use of these textures. I’m not entirely sure how long that will take with my current workload, but I’m looking forward to putting these to use and seeing what kinds of results I can get.

Getting Lost and Fluttering Butterflies


These last couple of weeks I’ve been working on improvements to the little maze SRP project. Adding new art and effects, while continuing to learn about Unity’s Scriptable Rendering Pipeline (SRP).

The project also finally has a title. The Maze Where The Minotaur Lives.

Navigating Improvements

Many of my play-throughs of the maze would often leave me completely lost, with little indication that I’d be walking in circles. So I spent some time this week working on ideas to try and fix the problem.


I know getting lost in a maze is the point, but exploration is about being in control while also being lost. When you’re no longer in control, you’re no longer exploring, meaning it’s no longer “fun”, which means it’s no longer a game.


My initial ideas were a little overkill (as usual), such as adding a map and compass system. But I decided to keep it simple and update the art instead, hoping that a few art changes, and more visual variation, would help.

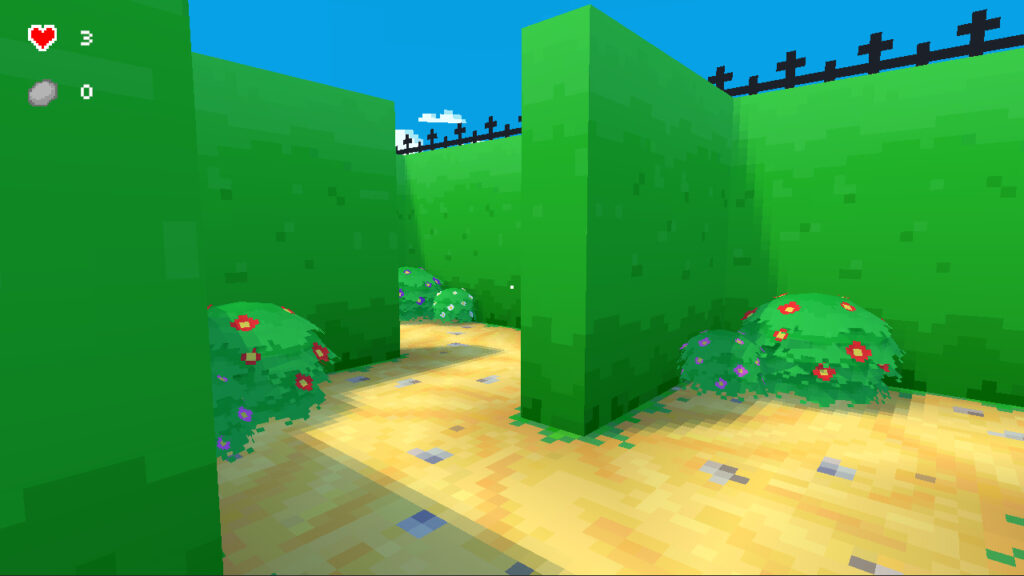
A variety of bushes with flowers found near the boundary of the maze.

The maze now has clear boundaries with a fence line. I also updated the bushes to have different colored flowers, creating variation along the path that previously wasn’t there.

After a bit of playtesting, the additional variation has helped create loose landmarks that can help figure out if you’re going in circles sooner. But more is still needed.

The boundaries also help make the size of the maze obvious, encouraging you to move into the maze once you’ve realized you’ve reached a boundary.

The whole exercise has reinforced my understanding of how important small artistic changes are in communicating subtle gameplay cues.

Fluttering Butterflies

With all the flowers, I decided to add butterflies to add a little more visual polish to the maze.

I also wanted to experiment with particle systems more, to see if I could spawn the butterflies as particles and animate their fluttering wings using a shader. It was something I hadn’t done before, so it was a good opportunity to test my shader programming skills and learn something new.

It took a bit of experimentation and feedback, but it turned out better than I thought it would.

Here’s how it’s works.

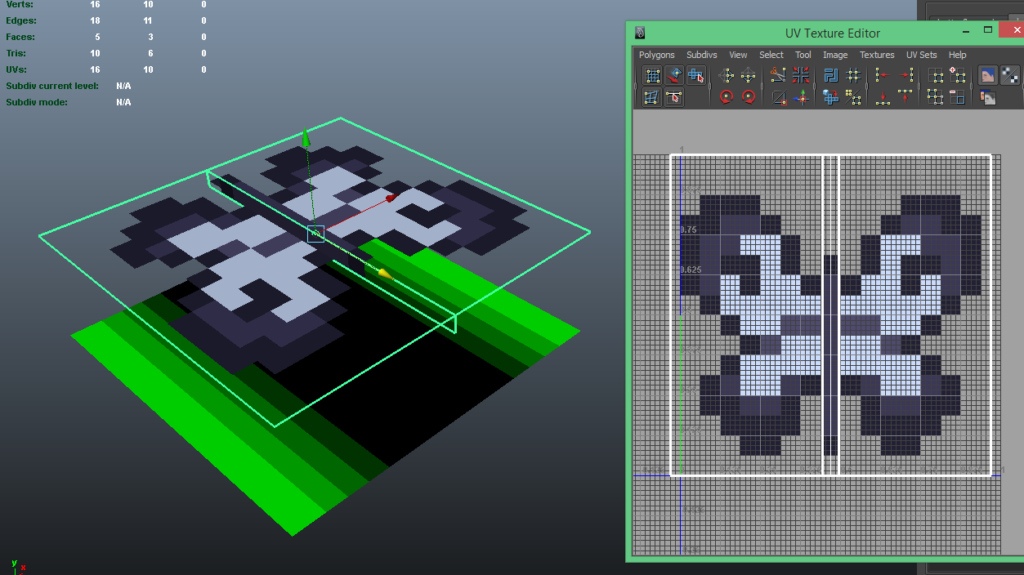
The fluttering is done using a custom shader that is driven by a particle system’s noise impulse value, passed it in using a Custom Vertex Stream. I used a motion texture mask to make sure that only the wings would animate, using the textures RGB colors channels as XYZ motion instead. How far and fast the wings can flutter is specified on the shader as adjustable values. Combining all these together creates the fluttering motion for each butterfly particle.

The noise impulse also influences the movement and fluttering speed of the butterfly. So if the impulse is high, the butterfly will flutter faster in sync with it’s movement.

The mesh with the butterfly pixel art (painted in Asprite). The black and green texture below the mesh is the motion mask used in animating the wings with the custom shader.

Updated Maze Textures

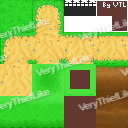
I updated the mazes hedge and ground pixel art, using some new techniques I’ve learned to make it look better. I also used this as a chance to optimize the textures, packing them all into a single texture sheet to improve rendering.

The individual ground texture, with not so good pixel art.
All the textures packed into one. With better pixel art.

Originally the maze was made up of 10 different materials and textures, creating a lot of extra work for the rendering pipeline to perform. Now it’s done using a single texture and material, creating less work for the rendering pipeline and improving the overall frame rate.

Camera Crossfade

I wanted to make it so that when the player finished the maze the camera would transition to different locations, showing places they may have missed, or even seeing the maze from nice camera angles.

So I added a camera cross-fade effect, to fade between different cameras in the maze.

I had to make a few changes to the camera system to make it easier to work with and maintain all the existing effects, such as the camera shake and post-processing effects.

The exercise taught me a lot more about working with cameras in SRP, and how to manage cameras and camera transitions.


And that’s been some of the things I’ve been working these last two weeks.

Next, I’m hoping to work on a few new 3d models and adding landmarks to the maze.

Visibility Culling for the Maze


This week I worked on optimization, focusing on visibility culling in the maze to reduce the amount of overdraw and learn where it fits into the Unity Scriptable Rendering Pipeline.

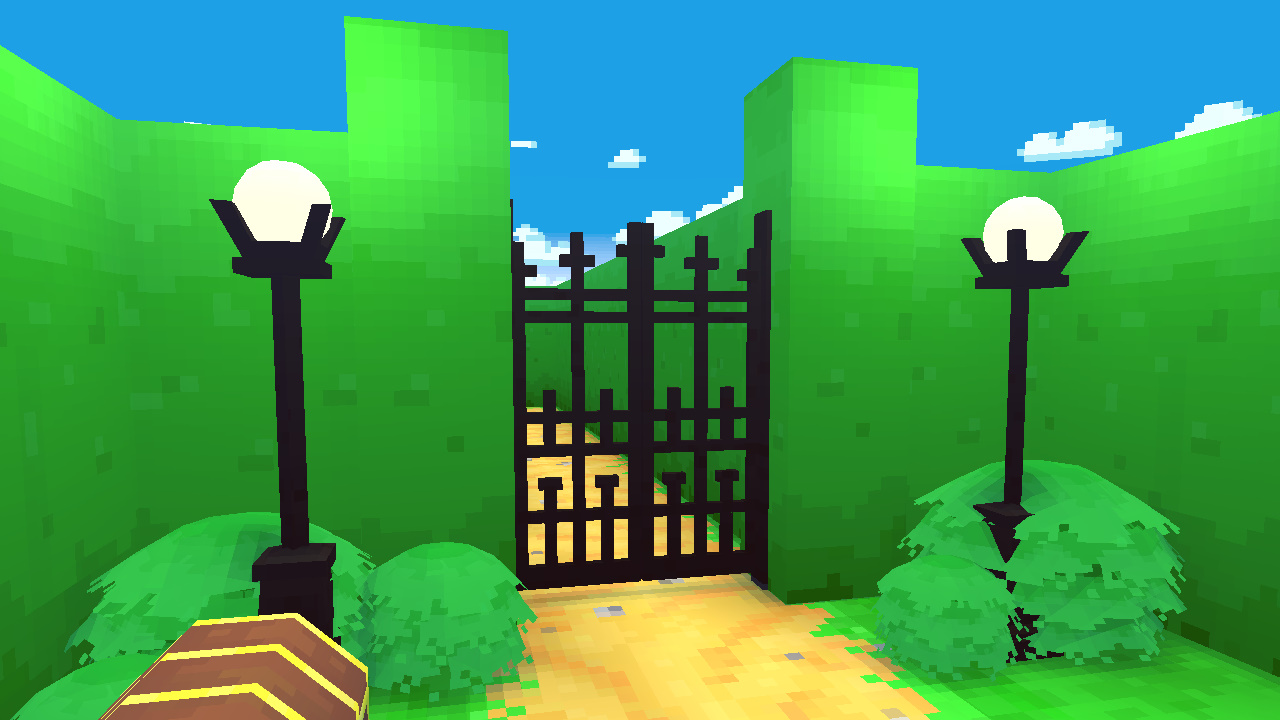
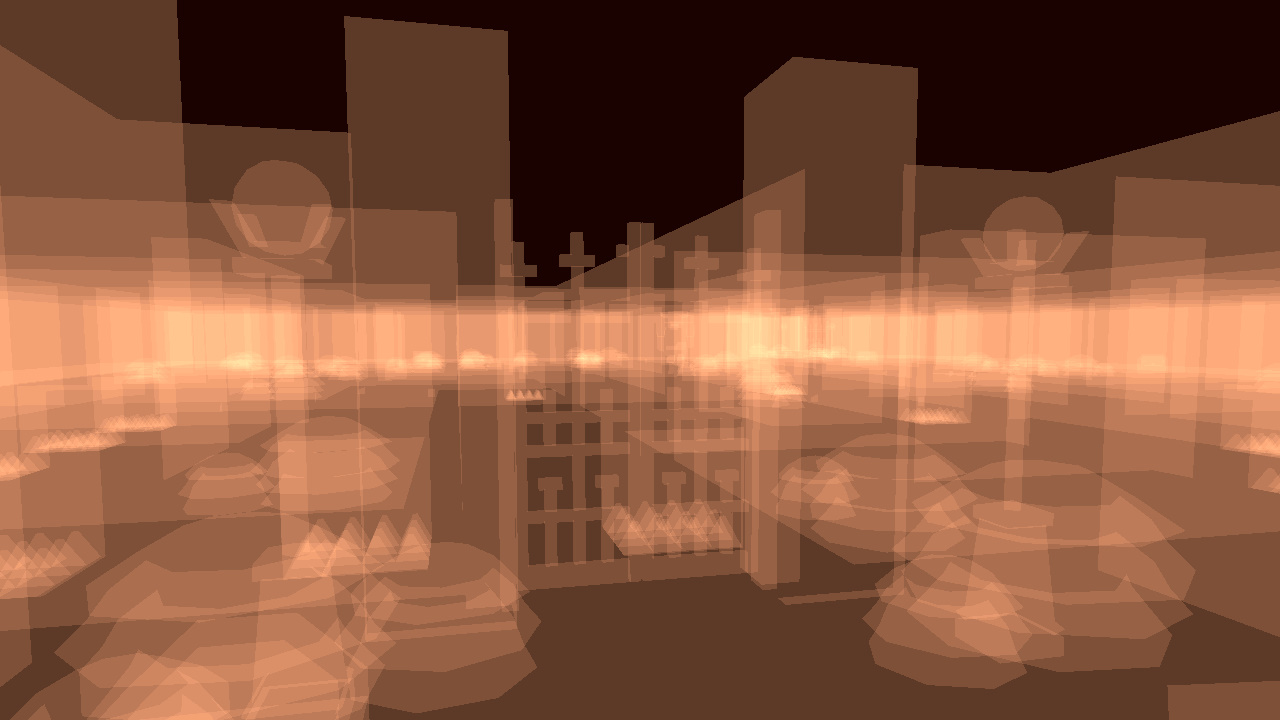
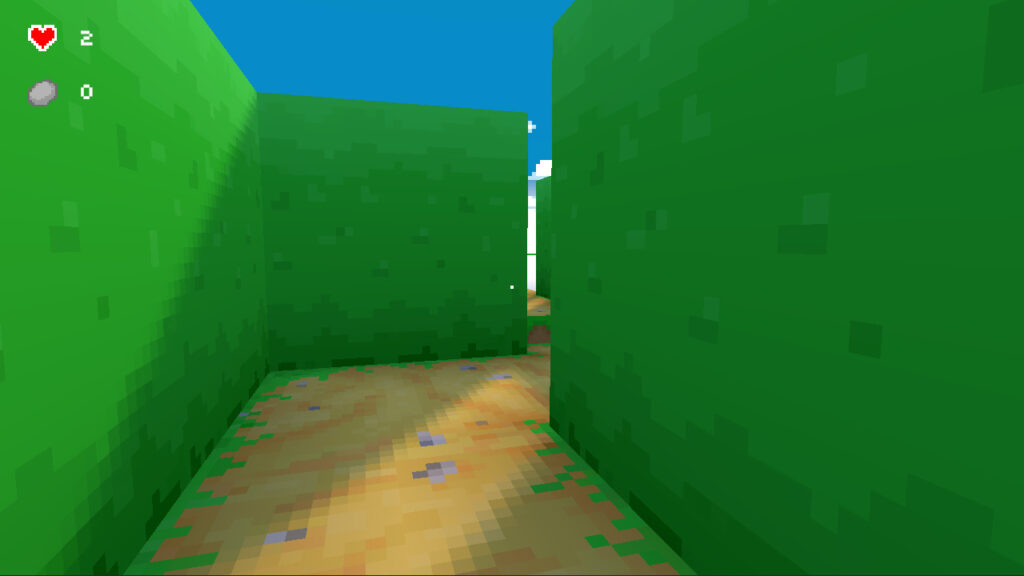
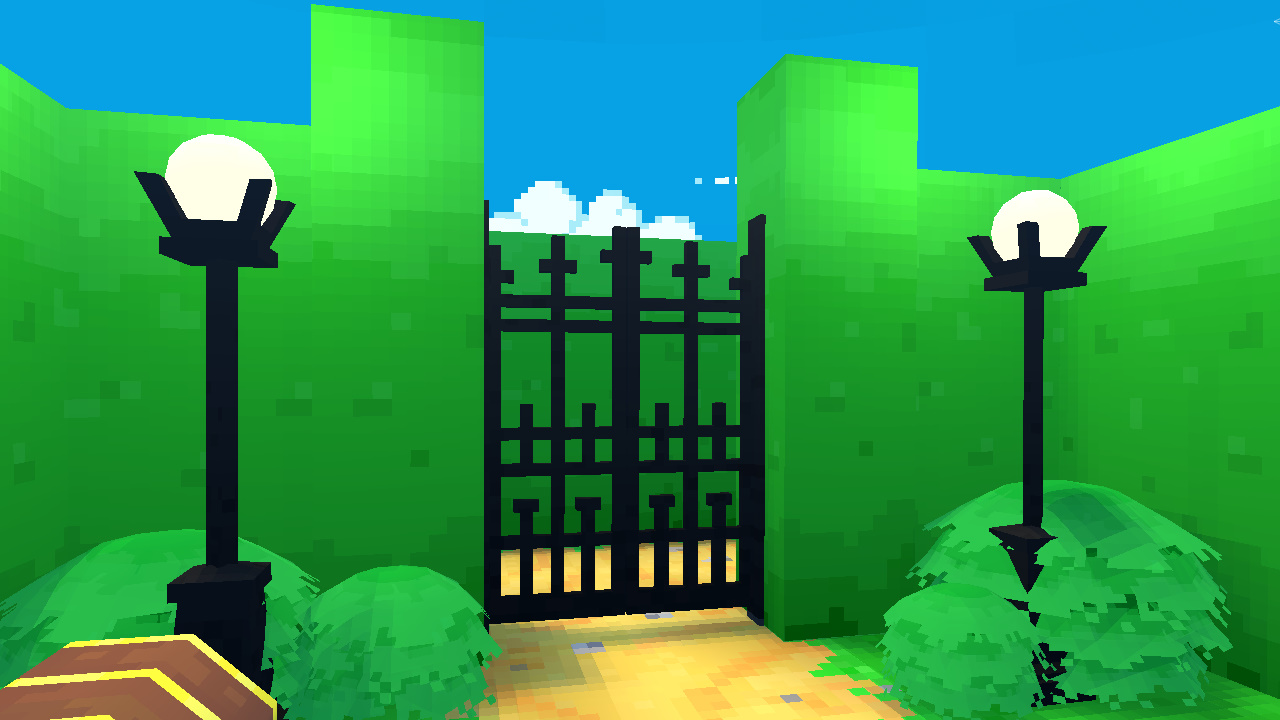
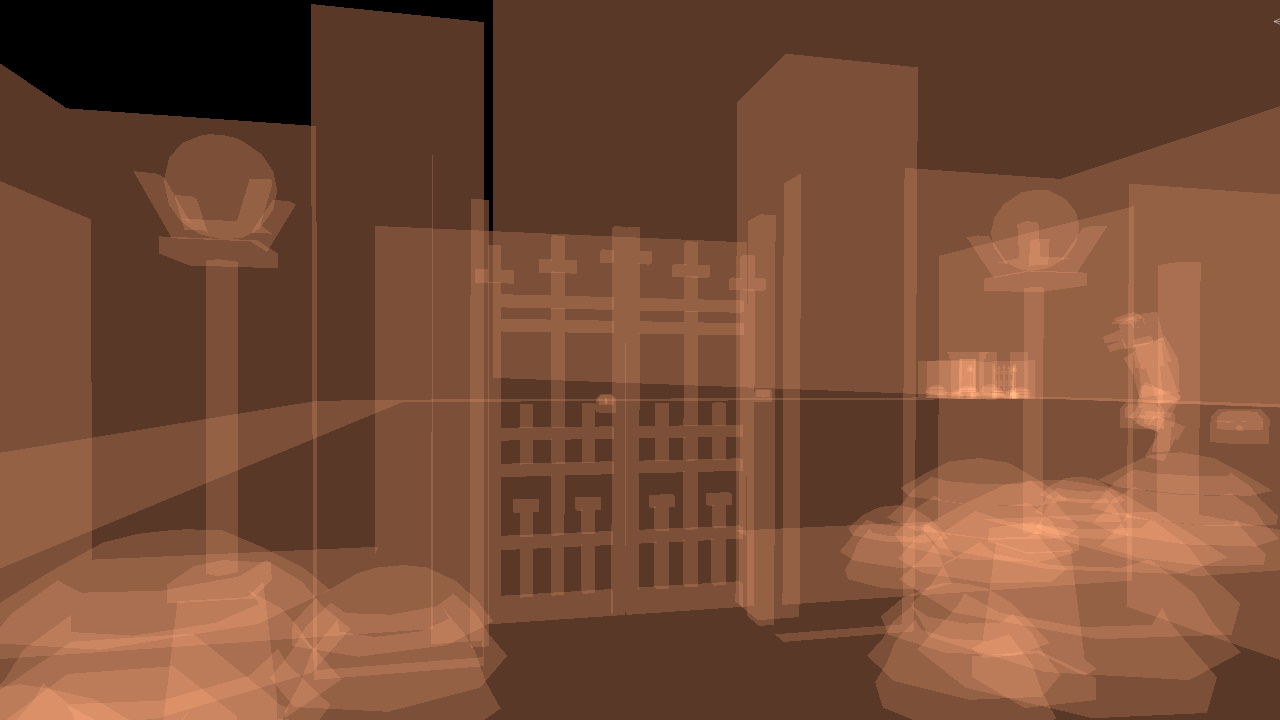
On the left, is how the maze looks to the player. On the right, is what is being drawn to the screen.

Since the maze is procedurally generated at runtime, I can’t use Unity’s in-built occlusion system to minimize the overdraw. That means I need to come up with my own solution to manage occlusion culling.

I started out by researching a few techniques for occlusion culling, looking at how classic rogue-like games do shadow casting in tile-based dungeons, and toying with the idea of some kind of specialized flood fill algorithm to figure out what should be visible.

It was interesting, but it all felt a little overkill.

So I ended up going with a simpler approach, which was raycasting and grid intersections.

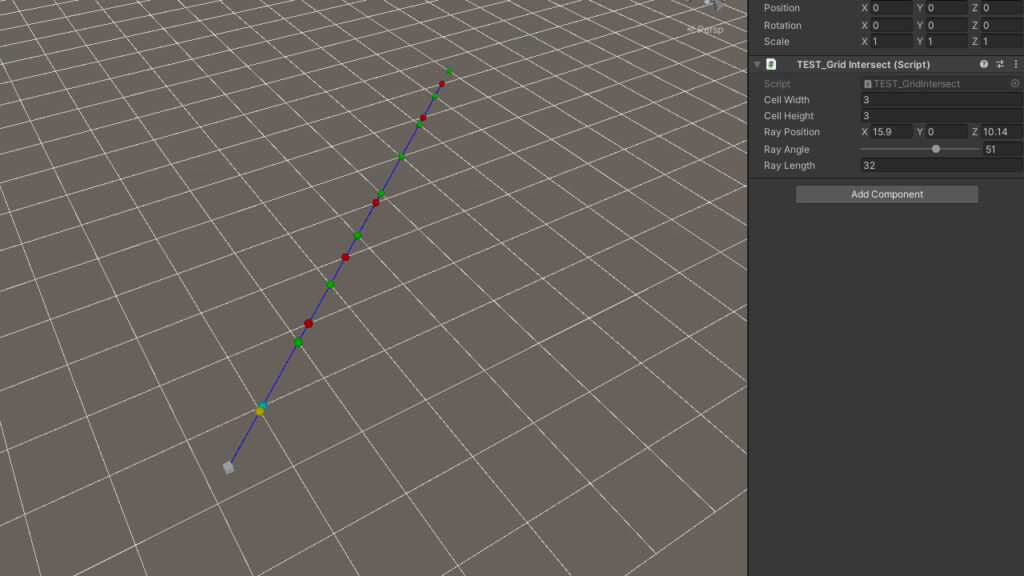
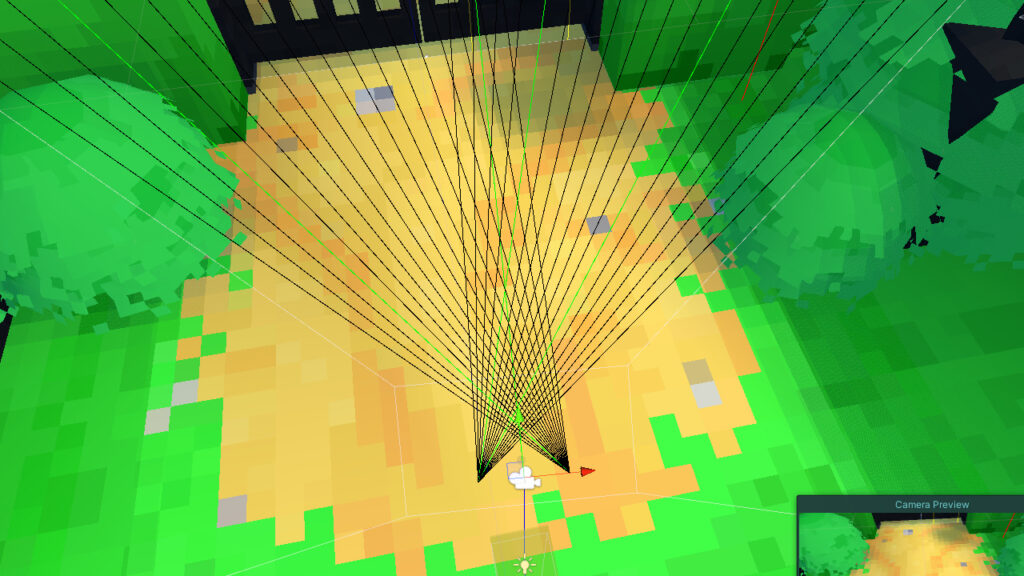
The test scene I used to code the grid intersection test. The white box is the starting point, the blue line is the ray, the red points are intersections on the Z-axis, and the greens point are intersections on the X-axis.

Since it’s in first-person, I only needed to make sure that walls immediately in front of the camera were visible. And since the maze is generated on a grid, grid intersection made the most sense.

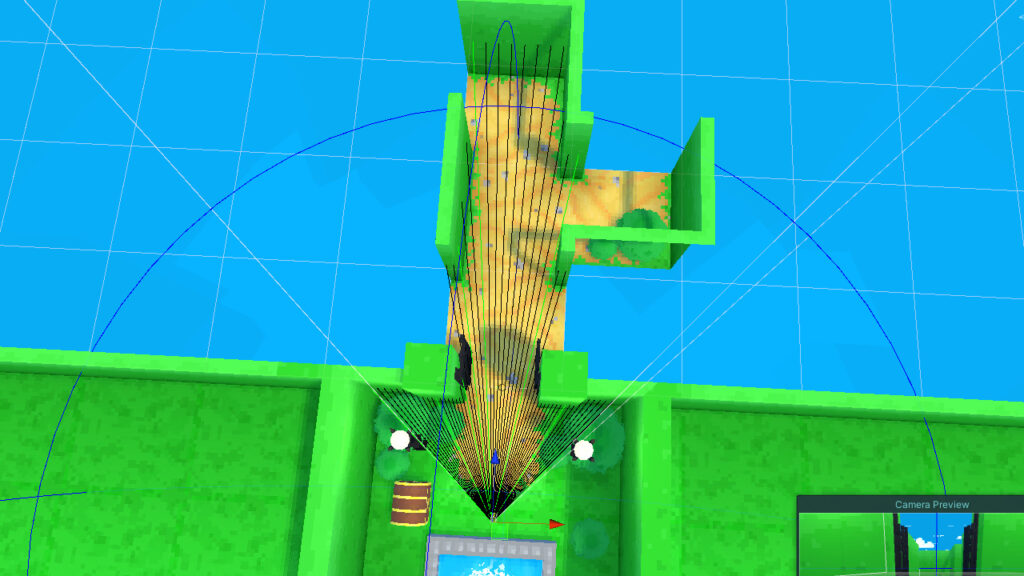
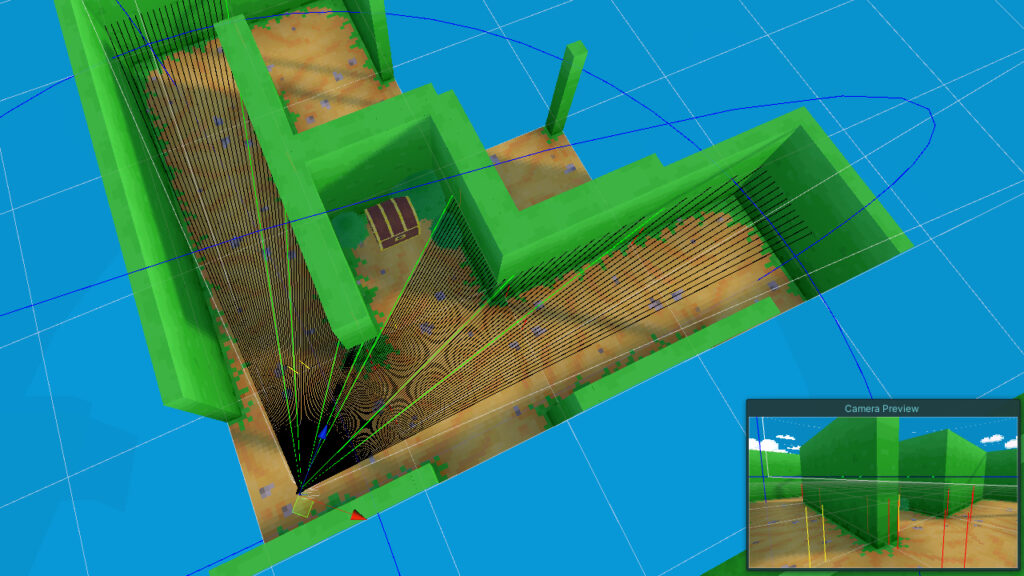
First, I cast a series of rays across the viewing angle of the camera like a fan, ignoring any up and down rotation. When the ray hits a wall, I convert the hit position into a grid coordinate, which I then keep in a “visible” list.

Sweeping from left to right inside the camera. Green lines indicate walls that have been detected for the first time to keep them visible.

I then use the line between the camera and the ray’s hit point to calculate where it intersects the maze grid, and calculate the visible cells along that line, adding any new cells to the “visible” list.

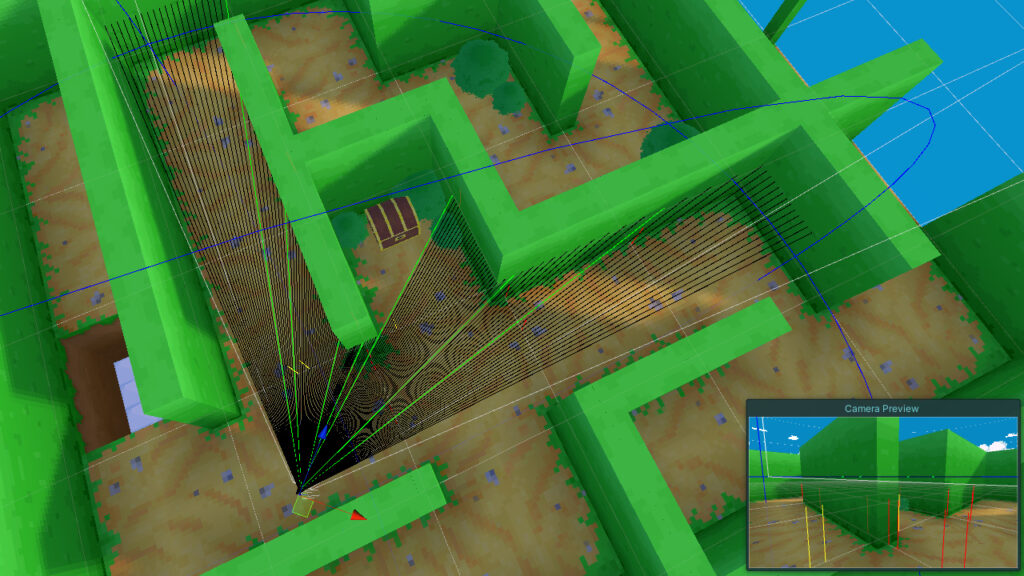
The walls detected by the maze culling system. Notice how some of the shadows don’t look correct.

I then expand the “visible” list to include neighboring cells. This ensures that shadows cast by walls on the opposite side don’t disappear and prevents creating light where there shouldn’t be any.

The detected walls expanded to it’s neighbours.

Any walls that aren’t detected by the rays, are turned off, or culled.

It worked for a stationary camera. But once I started moving around the maze there were holes where walls should be. This problem was especially noticeable near corners.

Some walls not being detected and culled, creating a gap in the middle.

To fix it, I modified the rays to fire from the side of the camera instead, which allows the culling system to see around the corners before the player does.

The modified ray cast to fix culling visibility around corners.

The problem still happens, but it’s less obvious.

No more gap in the walls.

With culling enabled, the amount of overdraw is significantly reduced. And because there is less to render, it also reduces the number of walls and objects that need to be rendered for shadow casting lights.

After a bit of tweaking and adjusting, I managed to increase the frame rate by 50 to 100 frames.

The overdraw image on the right now renders significantly less walls thanks to culling.

I originally learned the raycasting technique last year in a course by Gustavo Pezzi of Pikuma called “Raycasting Programming with C”. It’s a great course that goes over creating a classic Wolfenstein-style game. If you’re interested in that kind of thing, you should check it out at http://Pikuma.com.


There are still a lot of improvements I’d like to make to how the maze culling works, especially since it only culls the inside of the maze. But I’m not going to worry about it too much yet.

I’m not sure what I’ll be moving on to next, but I am hoping to start finishing this little project up. So I guess my focus next will be to finish it maybe?